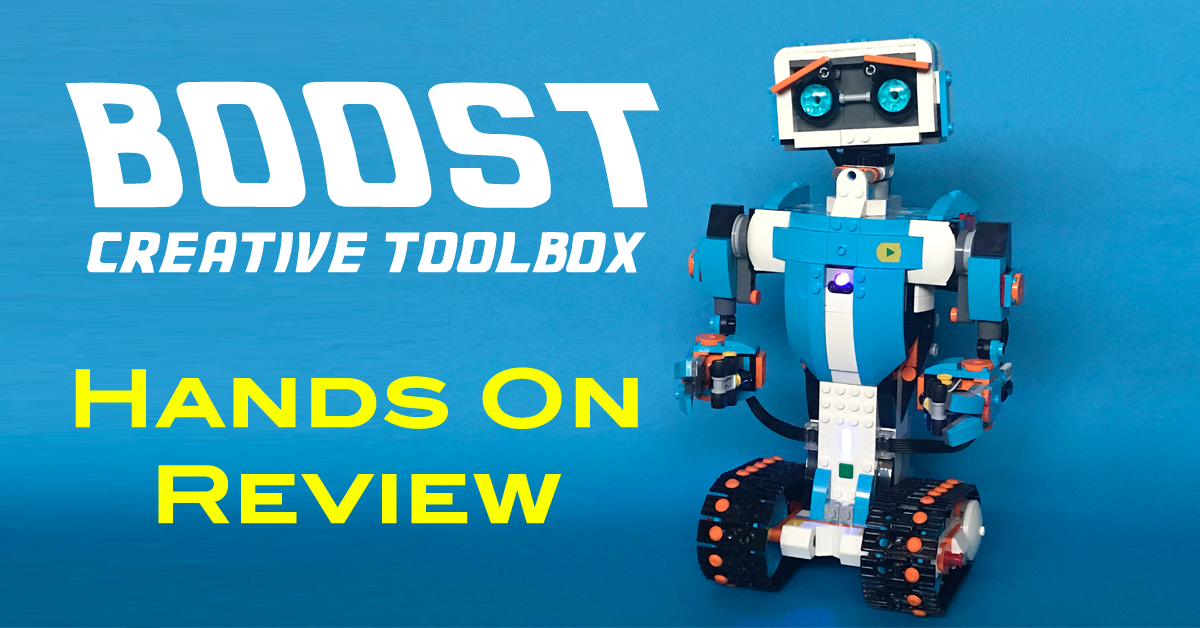
If you’re one new to all things BOOST, this is going to give you a good overview and a decision point – to buy or not to buy. With every new series or theme coming out of LEGO, that’s the question we all want the answer to – where does it stack up? This set is being reviewed from a set of fresh pair of eyes and experience, or lack there of. During the announcement of the Boost system and subsequent reviews, I’ve not delved nor read too much about it at all. Partially because I’ve had enough regular sets to keep me busy, and this has not landed on our shores in Singapore just yet.
Because it’s a unique and new area of exploration beyond the bricks by LEGO – I do intend to hopefully provide you with some kind of guidance at the end of this review on who this set may appeal to – parents, adults and fans alike, after all, you’re the one going to be the one investing or spending on it.
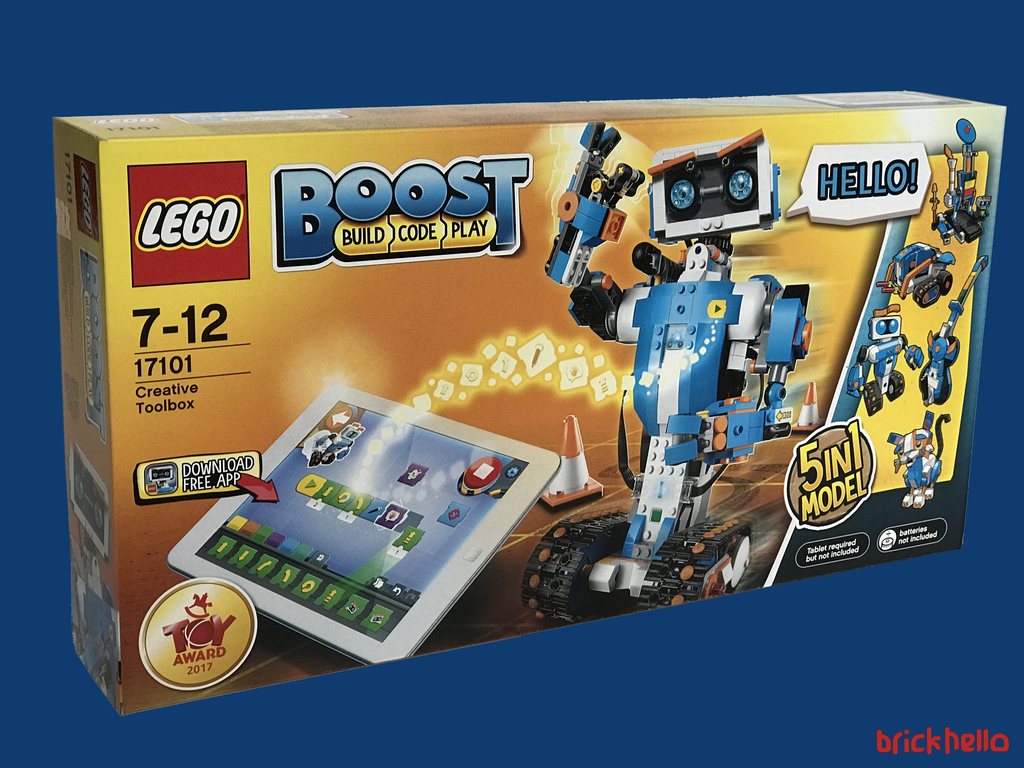
For the unenlightened, this is not your regular set of LEGO playset. It’s Billund’s move into a new area of playmode which encompasses a level of coding with the use of an tablet device. Its important to keep this in mind as well from a bigger picture as the sales and success of this product line will definitely determine whether this line survives the long haul.
Baseline
I do believe in baselines where you do need to understand where this review is coming from – in short, its about having context. I’m an AFOL who is interested in the general build of sets and the occasional MOCs. I prefer the mainstream sets, and have no experience around the Mindstorms systems and not a big fan of Technics as well. The Boost series where perhaps the sweet spot for me lies, it’s built on neither platforms, but tries to achieve the same outcome. This could be a good move to capture a larger market as both Mindstorms and Technics do have a smaller fan base and following.

Comparison Table of Mindstorms vs BOOST
The Review
I will cover the review from two angles. "The Build" itself, and then "The Play”. These are two distinct parts that should be considered separately in my view. When I first looked at the box, it gave me the feeling of a typical LEGO set with extended capabilities. The feeling that I had AFTER completion of the build and the play – is these two things should rightfully be considered separately. The reason being so – once you complete your build, the traditional feeling of the LEGO set building ends (until you re-build another model) and the playability begins. It’s almost like having two different experiences, or simply – two toys in one, experienced differently.
Box and Contents
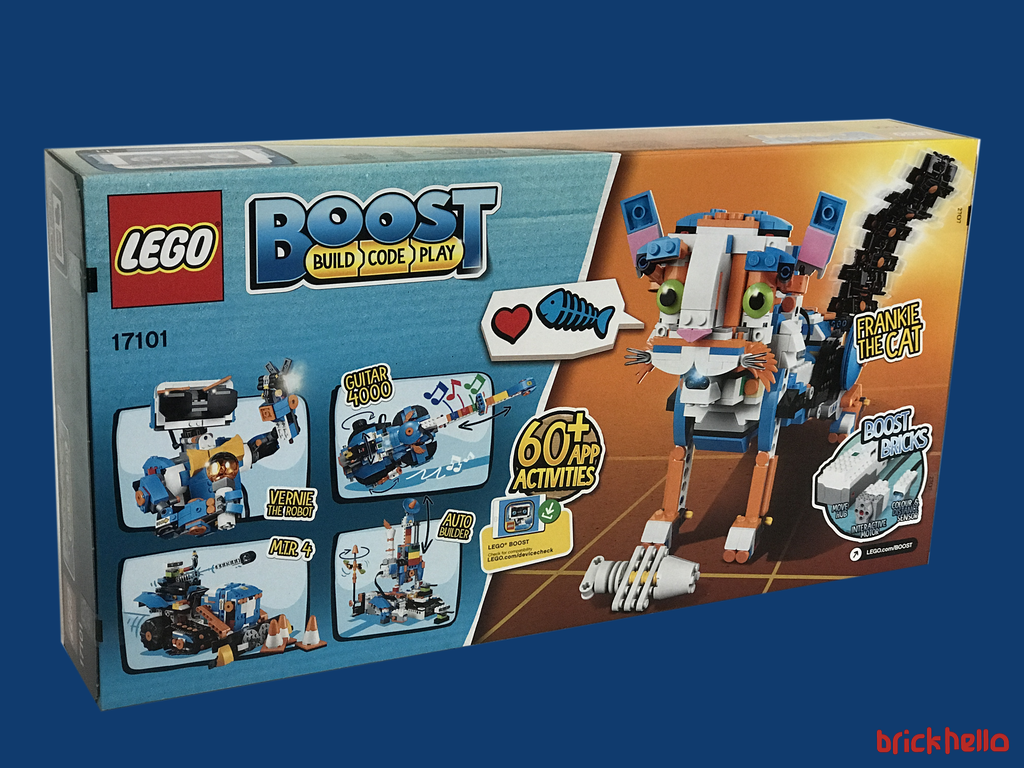
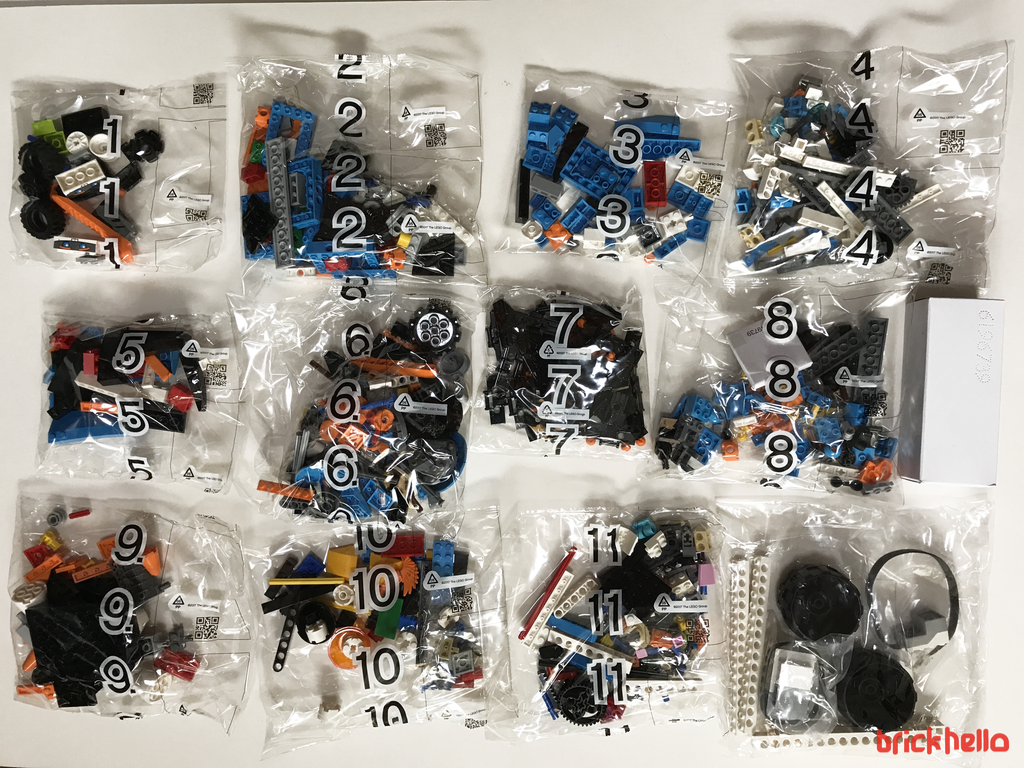
The box comes in 11 numbered bags, 1 plain bag and a box. During the unboxing process, I was naturally looking for the “manual” but found it to be missing. This should be the case because, well, everything is based off the tablet that you’ll need to make this function. Go green as they say.
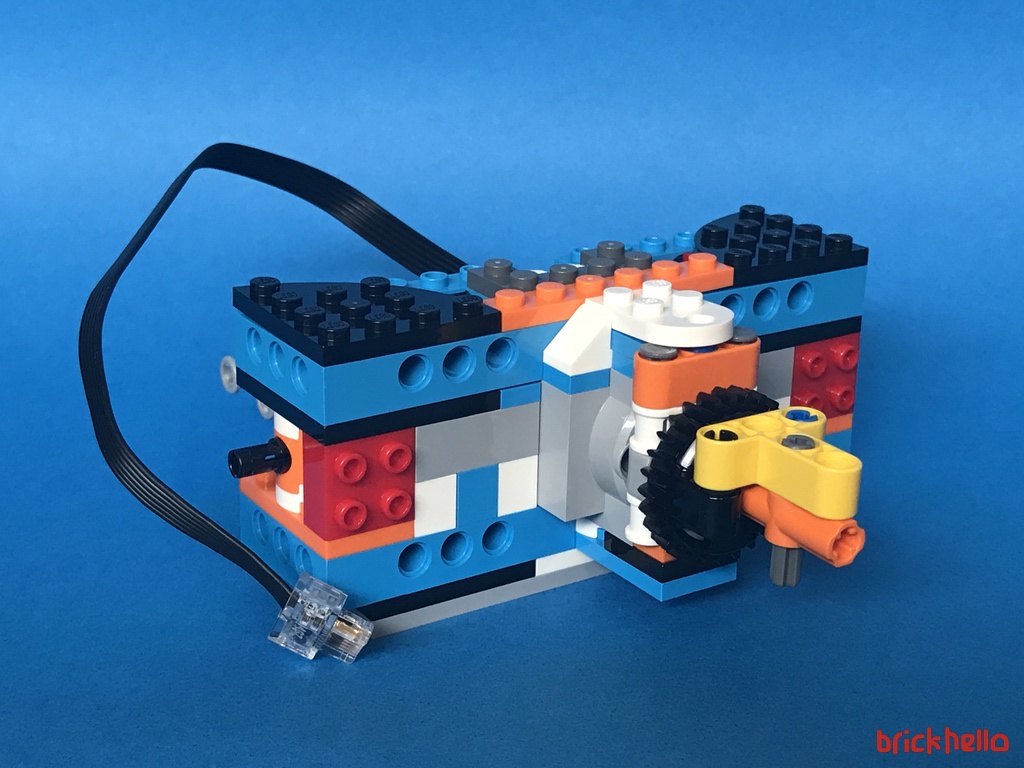
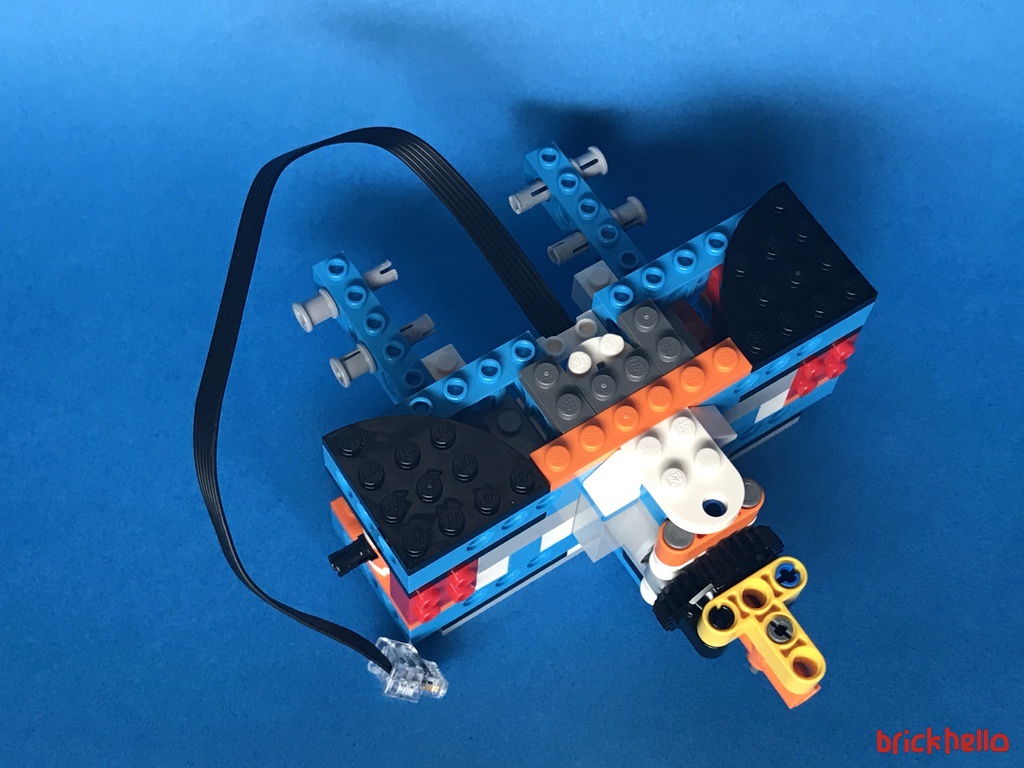
Unboxing the rectangular box reveals one of the Hub or the heart of the Boost System. This is identified as "Lpf2 Hub Motor 6X16X4 No. 1” by Brickset and its one of a kind unique to this Boost Set.
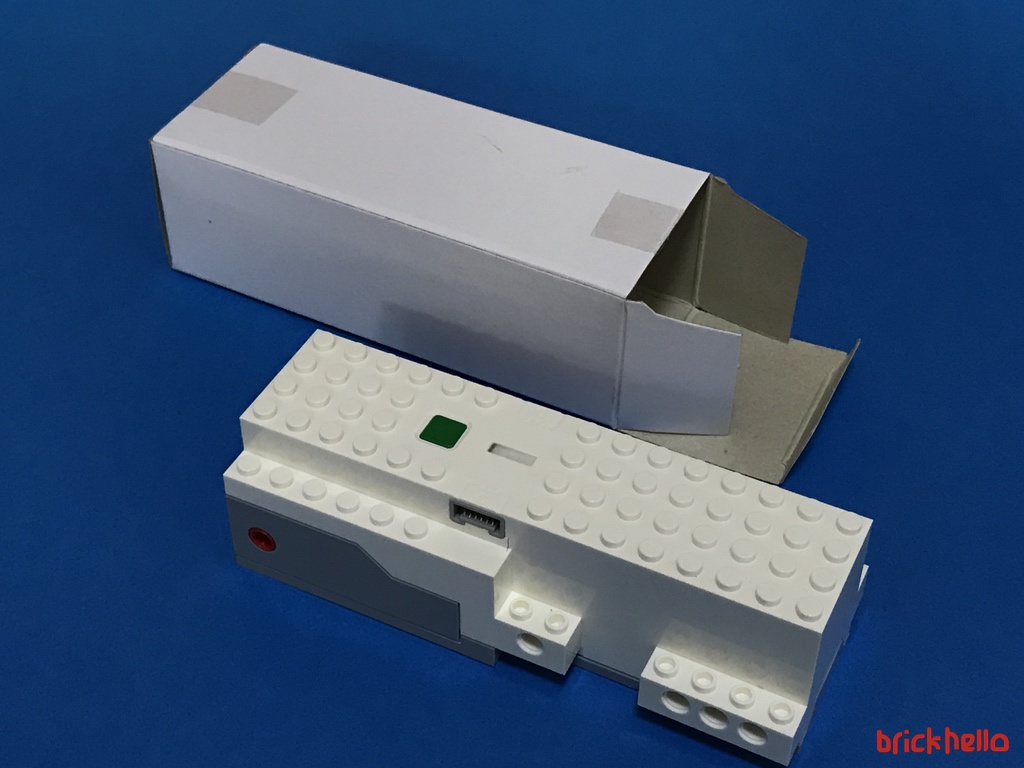
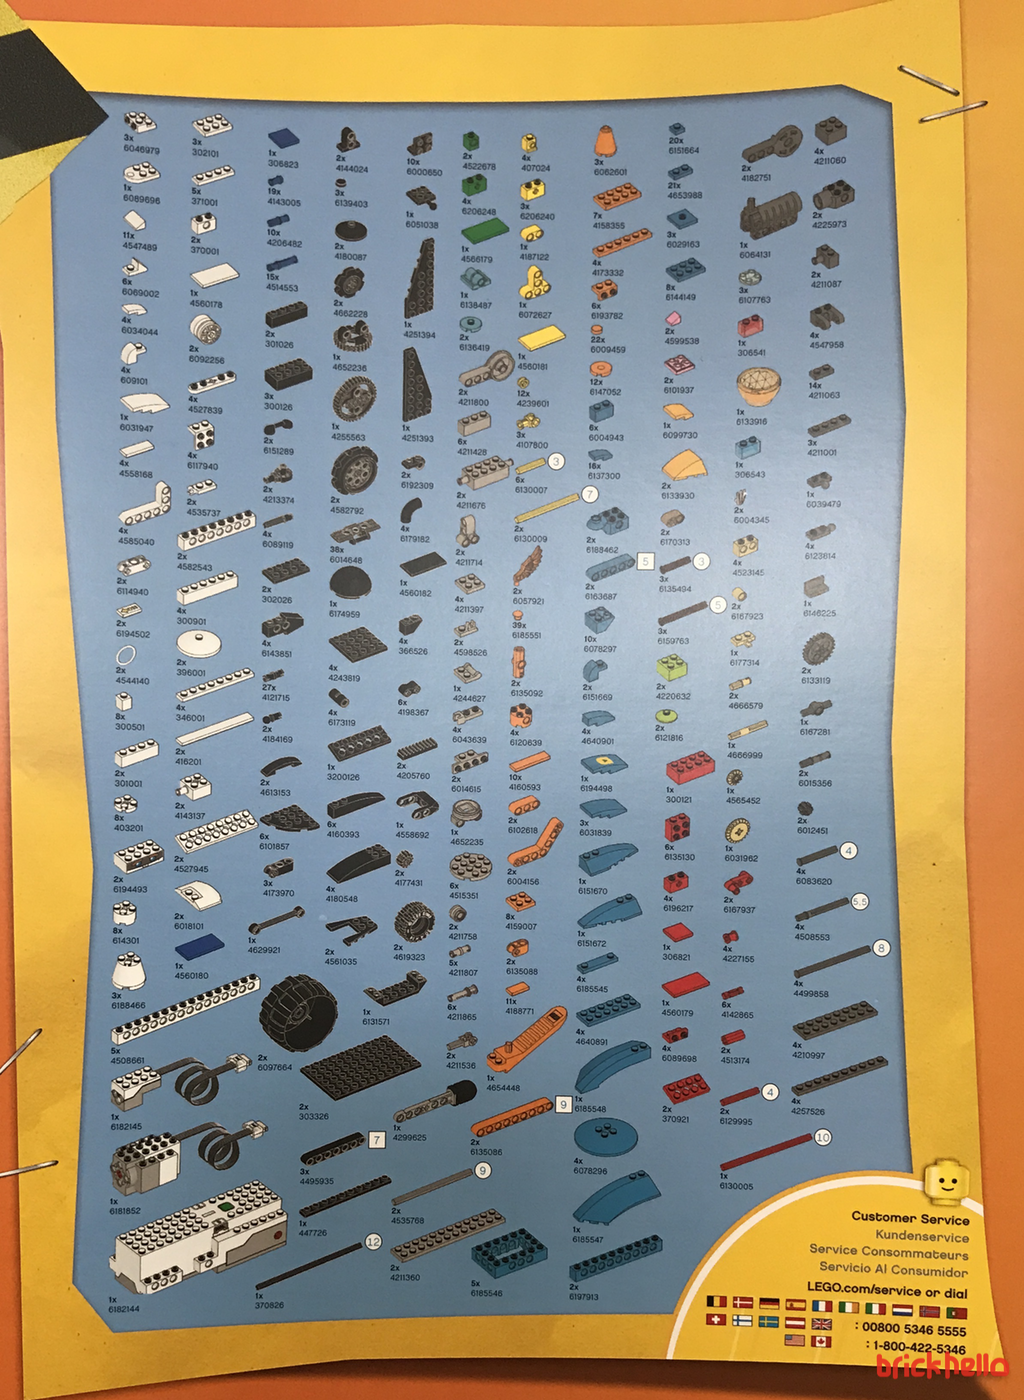
Tucked at the side of the box also reveals 2 other items, a Playmat and a Poster.
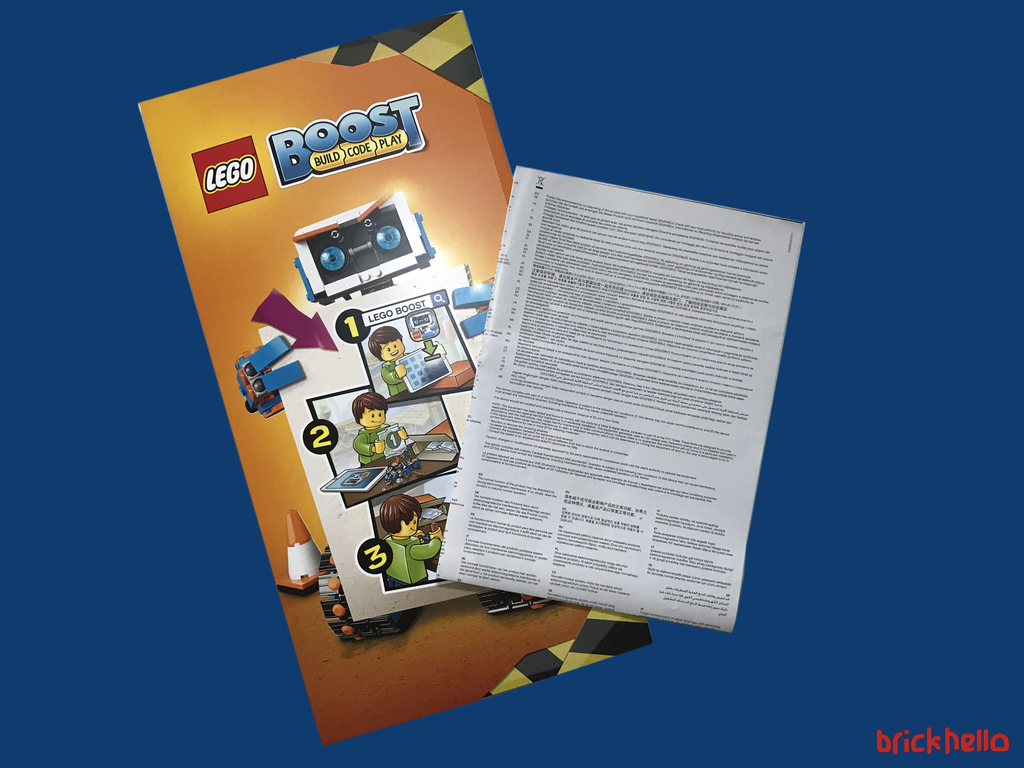
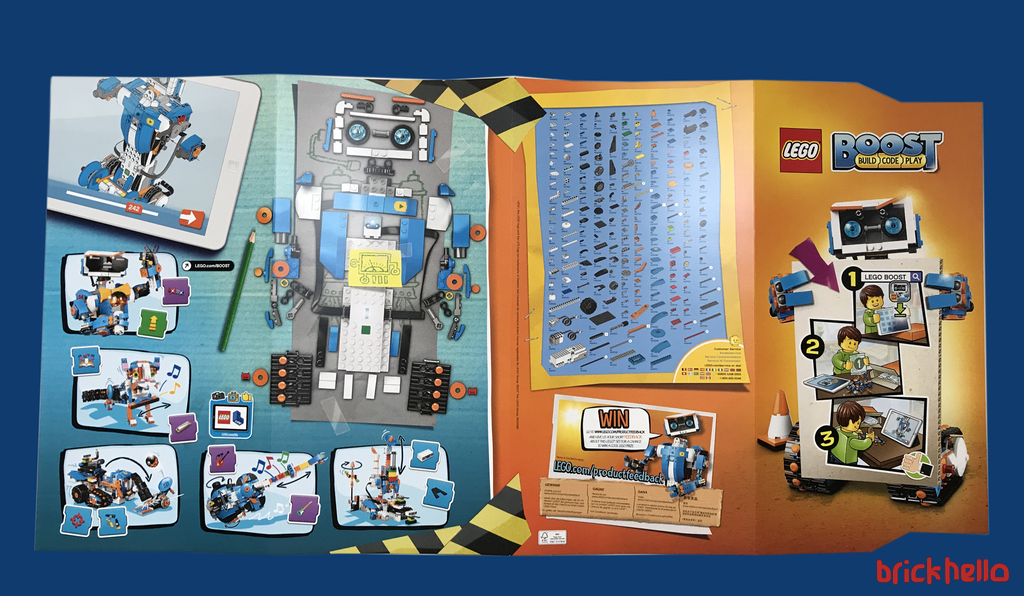
Here’s a closer look at the parts list printed on the flip side of the Playmat and the poster. (Click on the images to to zoom in)
The Build
Part 1: The Application and the Trainer Build
In order to start the build process, the app was loaded into my iPad and fortunately, I had all the relevant pre-requsites of the right iOS level and tablet device. Speedy and flawless install. Upon launching the app, prior to selecting what I call the 5 hero builds and then there’s a trainer build. It basically gets you acquainted with the basic moves in 3 tutorials and using the playmat as a guide.
First things first is the need to plug in the 6xAAA batteries in to the Hub. Yes, that’s quite a number of batteries needed.
Bag 1
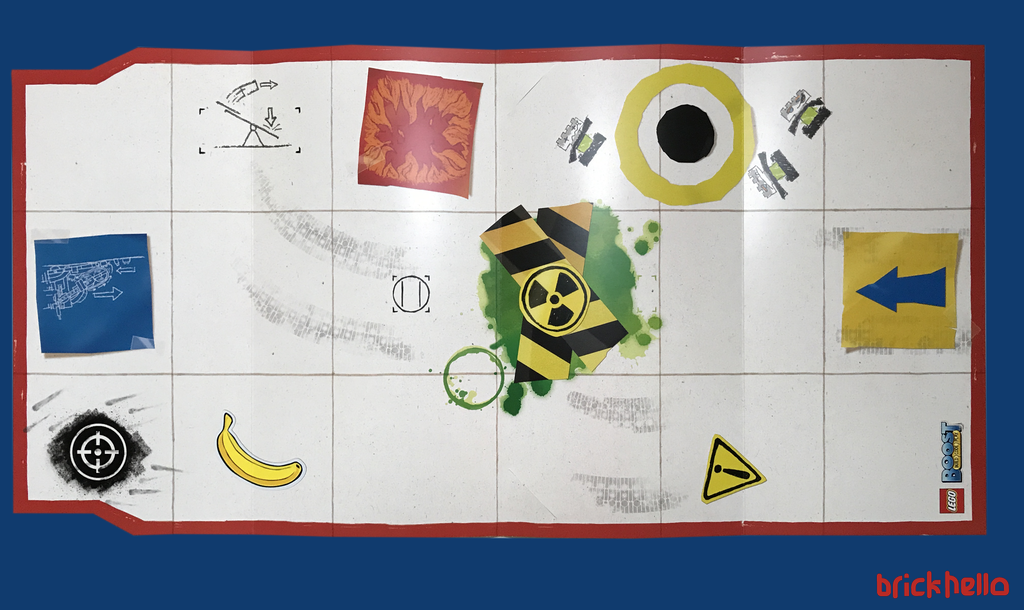
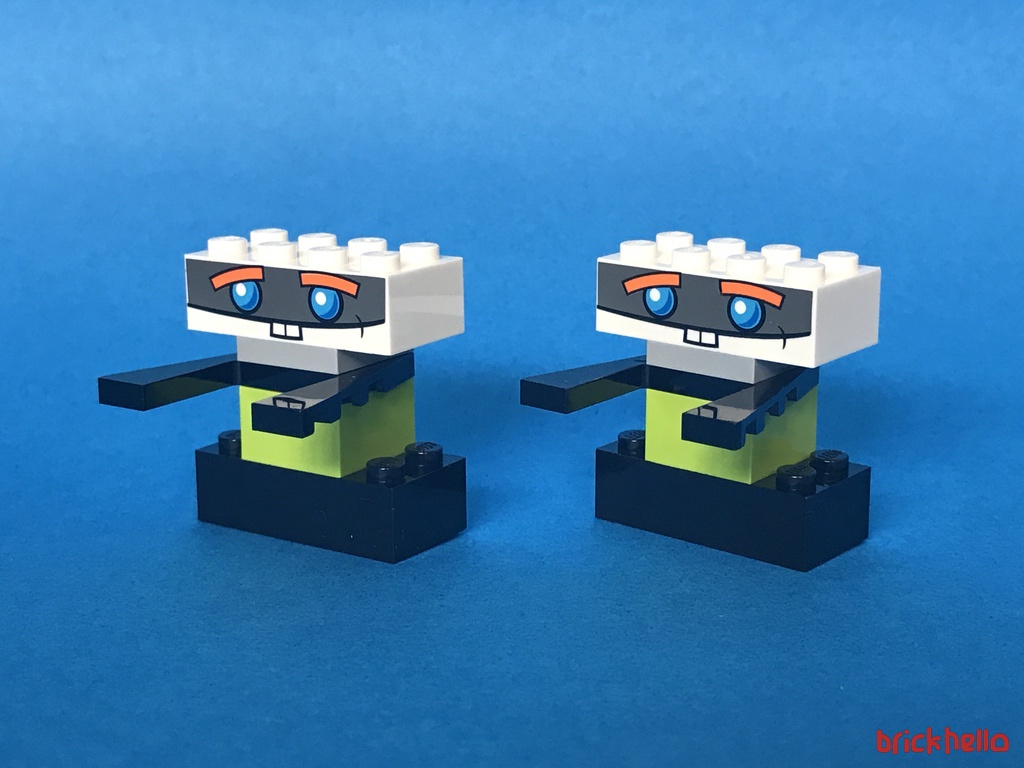
The Trainer Build consists of a very basic build with the Move HUB (with built in tilt sensors) and the Color and distance sensor, and the interactive motor with two little brick robots. The Playmat, calibrated to the app is designed to facilitate the mini challenges to practice simple coding trials.
Tutorial one: Basic movements – left right circular movement
Tutorial two: Sensor Test
Tutorial three: Motor Test
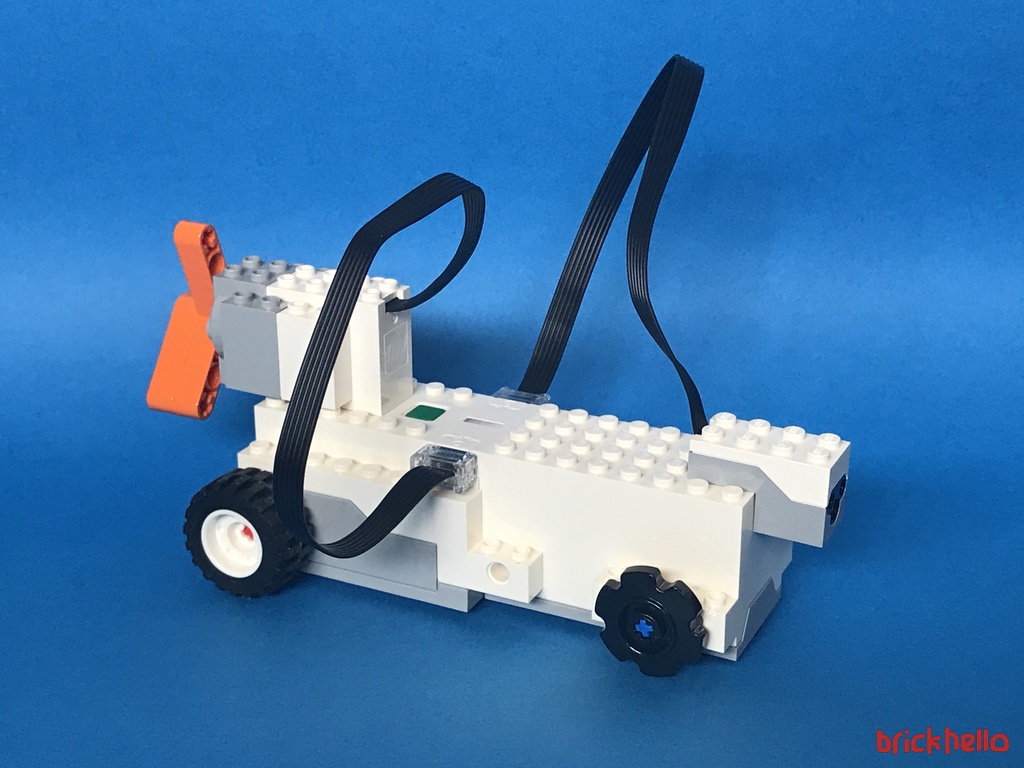
This are the essential steps to get acquainted with the interface and play mode. The build of the motor-hub-sensor is very rudimentary and only consisting of two wheels (as opposed to a depiction of having 4 actual wheels of which 2 does not serve any purpose) plays a very important purpose to ensure that the builder has good control of the systems.
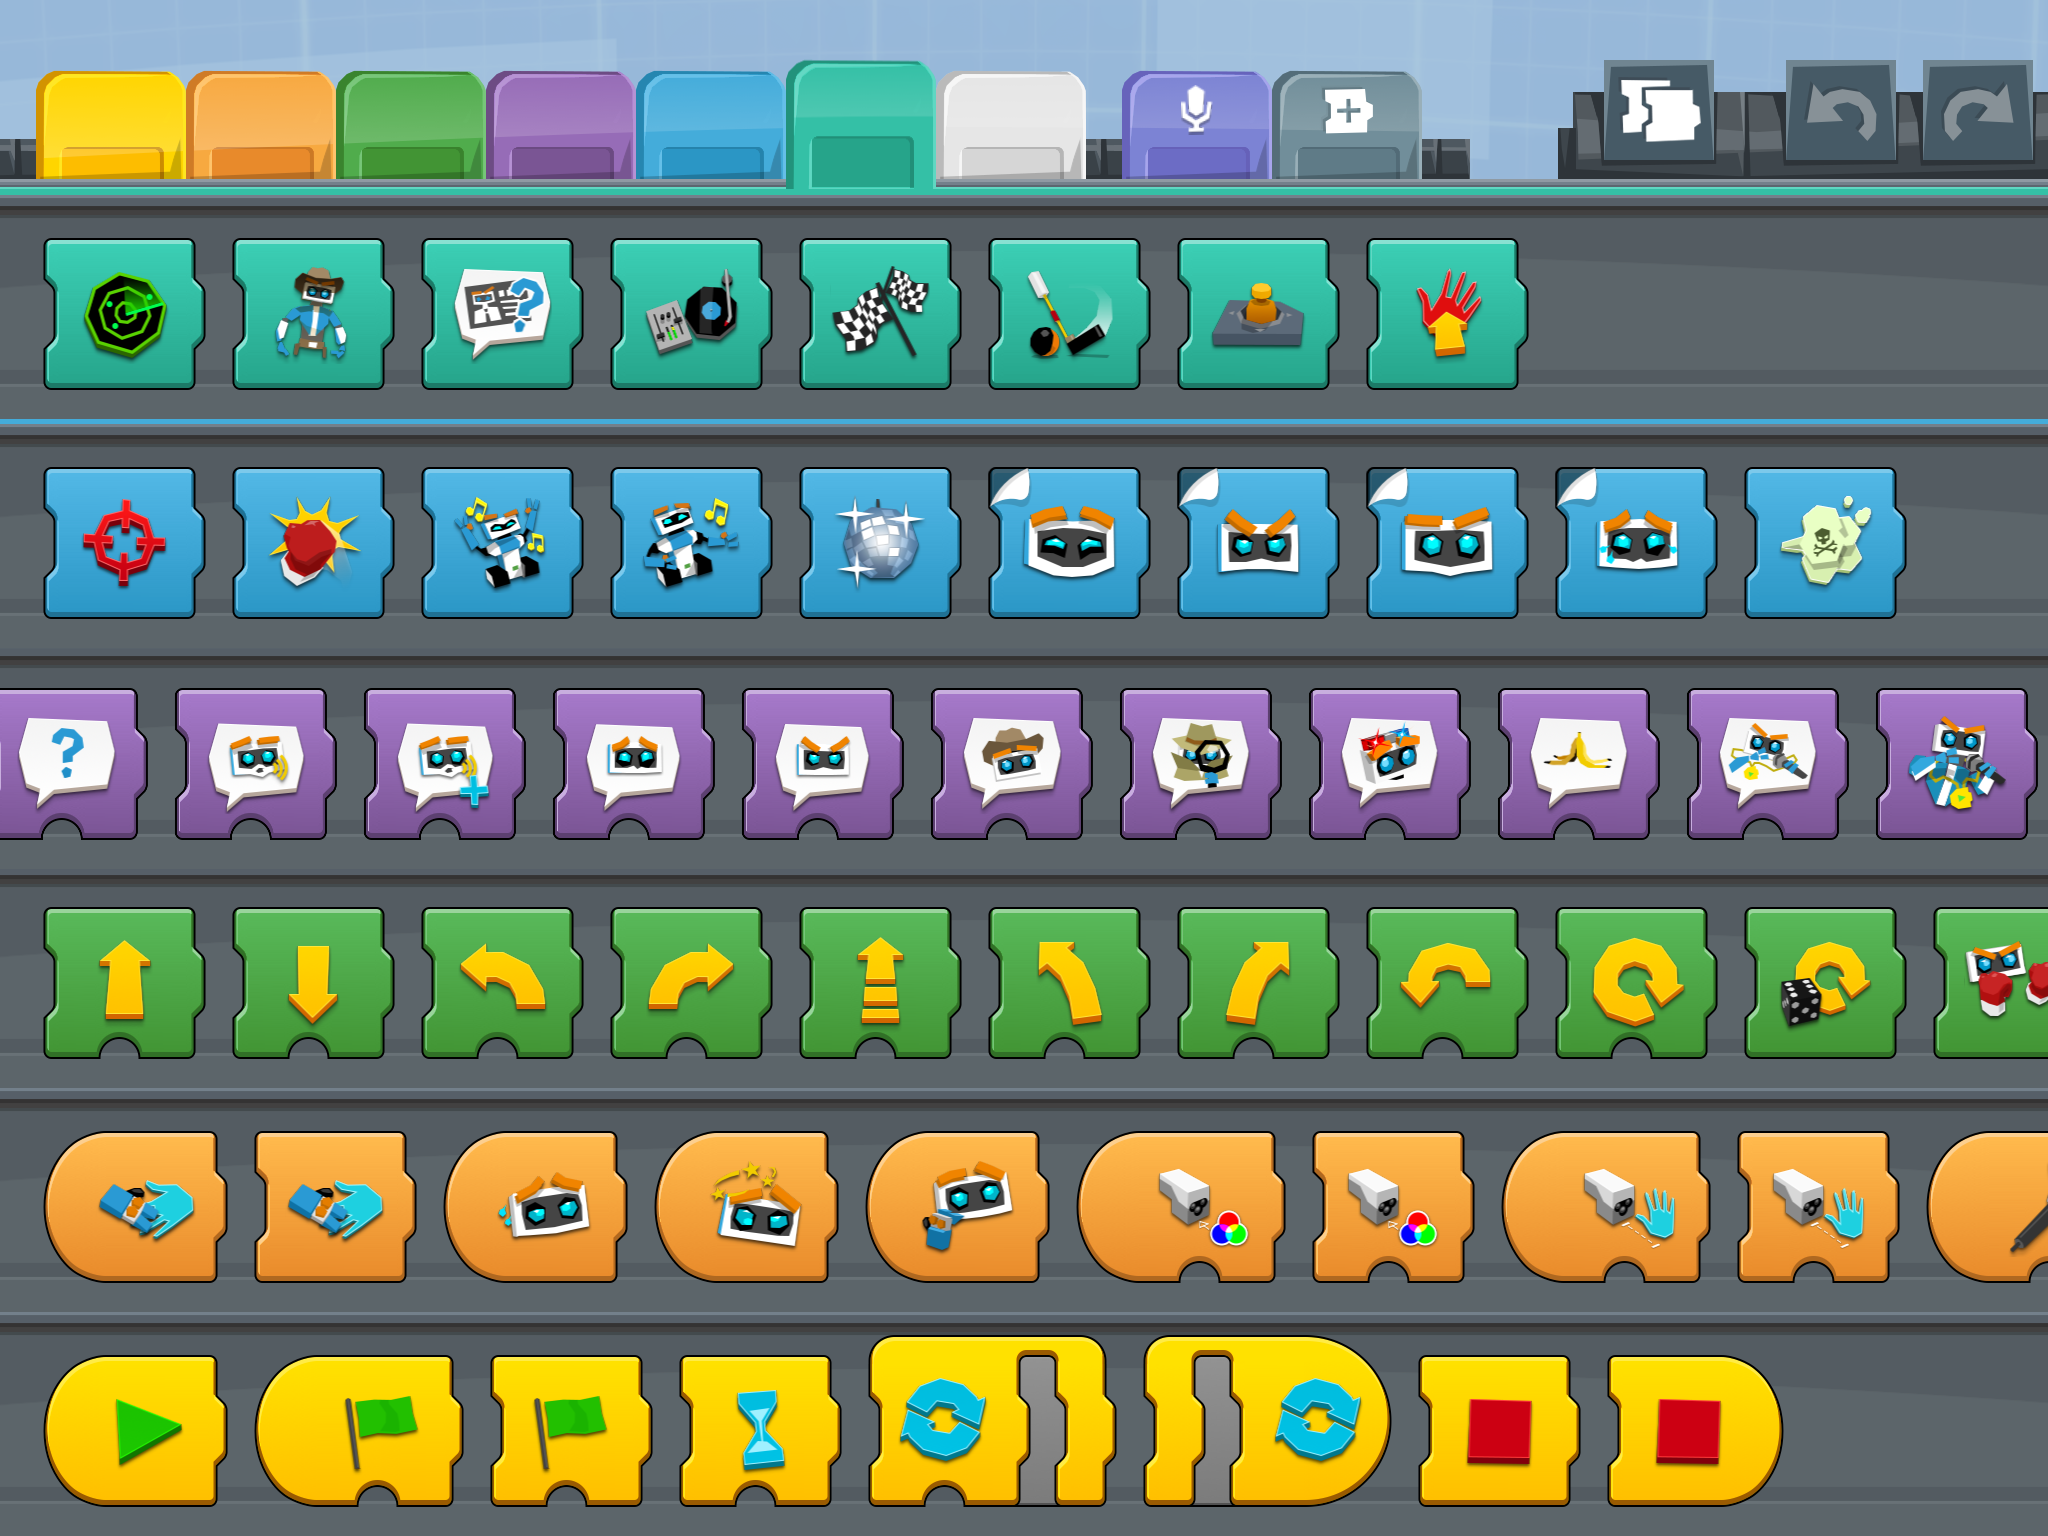
The overall app has almost ZERO words – everything on the Application is graphically driven. I’m impressed at this level of thought and design as it means a carefully planned out process had to be in place with lots of visual thinking to be done in advance.
Upon launch of the app, there is only one choice (below left) as to have the first introductory tutorial (below right) to guide your first lesson. Fully guided, there’s little confusion on the steps to be taken.
To replay the instructions, there is an icon which gives that flexibility and additional activities in each menu in the lightbulb icon. I must say that this required a bit of trial and error trying to find out what button did what. But eventually I got used to the interface.
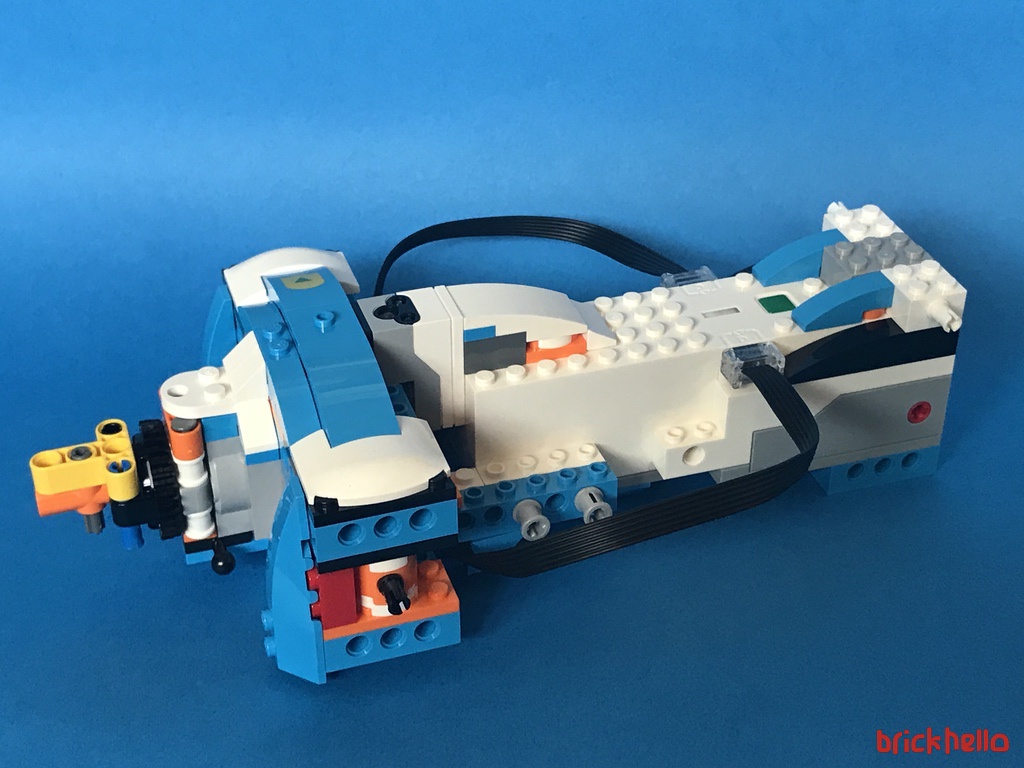
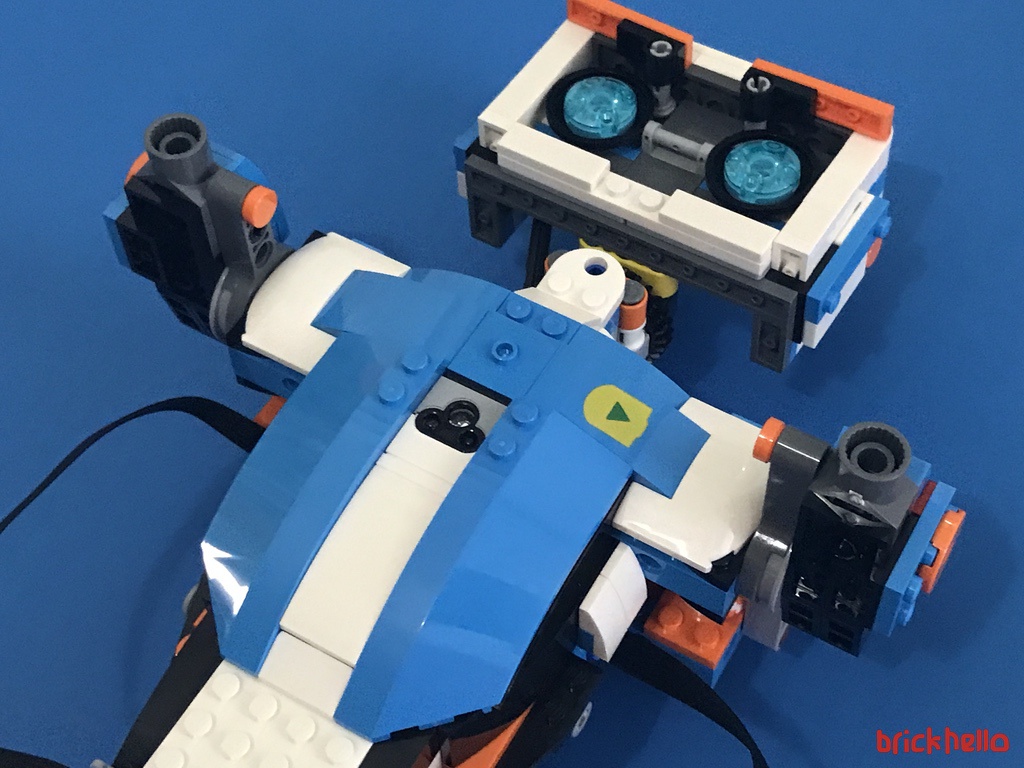
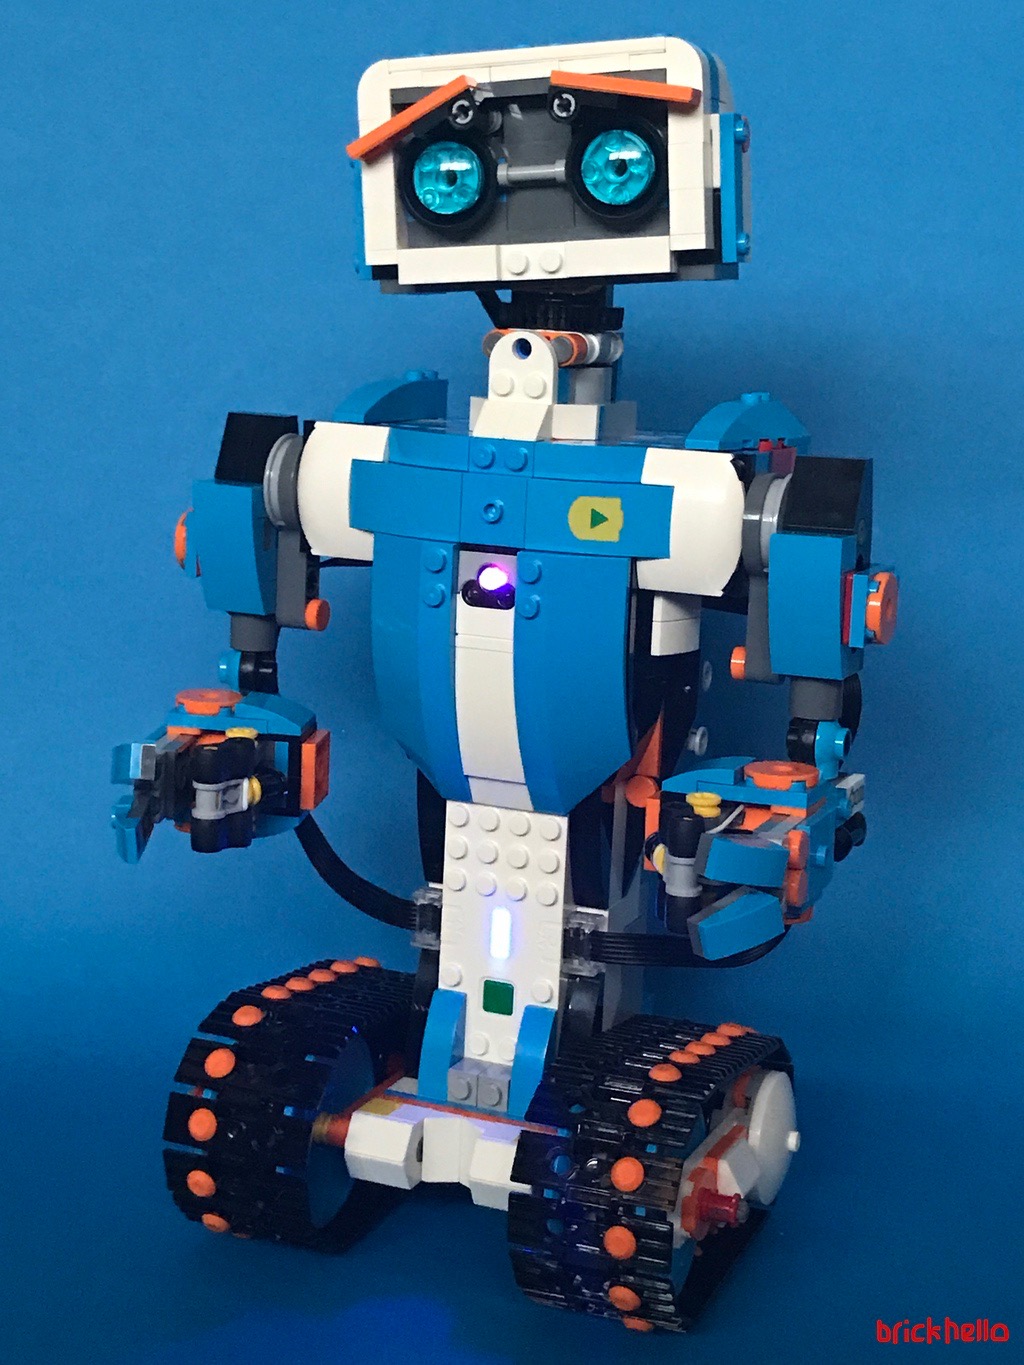
Part 2: Building Vernie the Robot
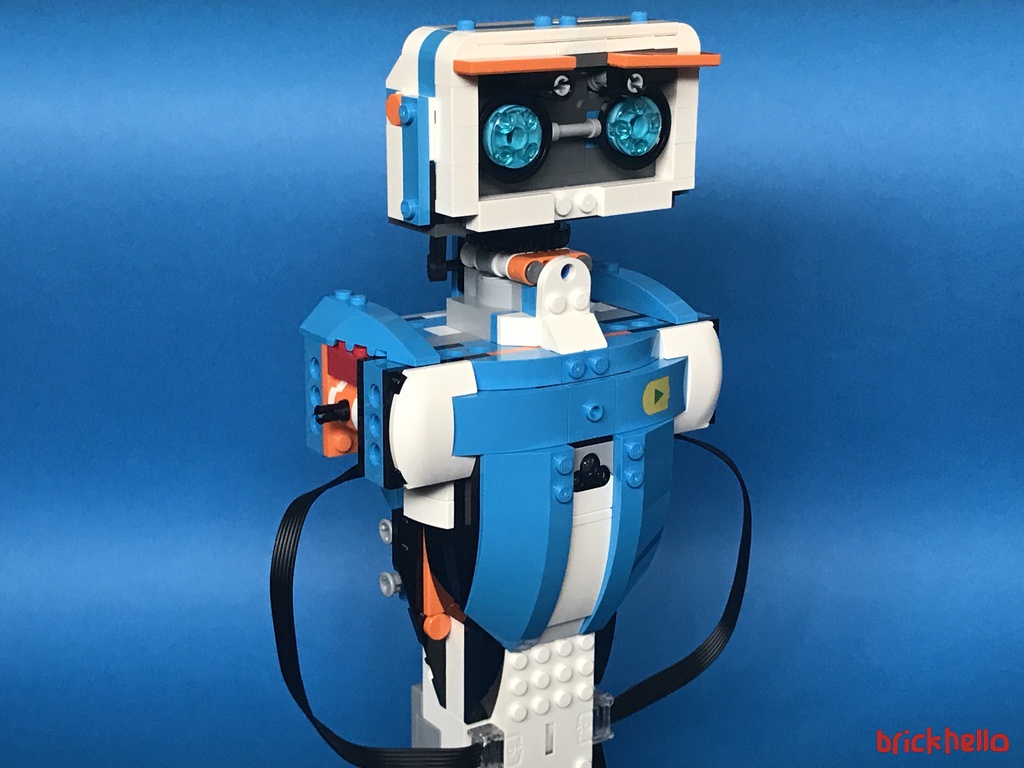
Out of the 5 builds, I decided to go with the iconic Robot called Vernie. It looks like he’s the champ and trademark from all the marketing materials, and one that sticks in my mind and looks like the most fun to play with. Early on I noticed that a blue / orange color combination is selected as the BOOST color for everything from the builds to the marketing material. I think it’s pretty much a good combination and one that sticks out early on as a signature theme.
Bag 2 – Upper Chest
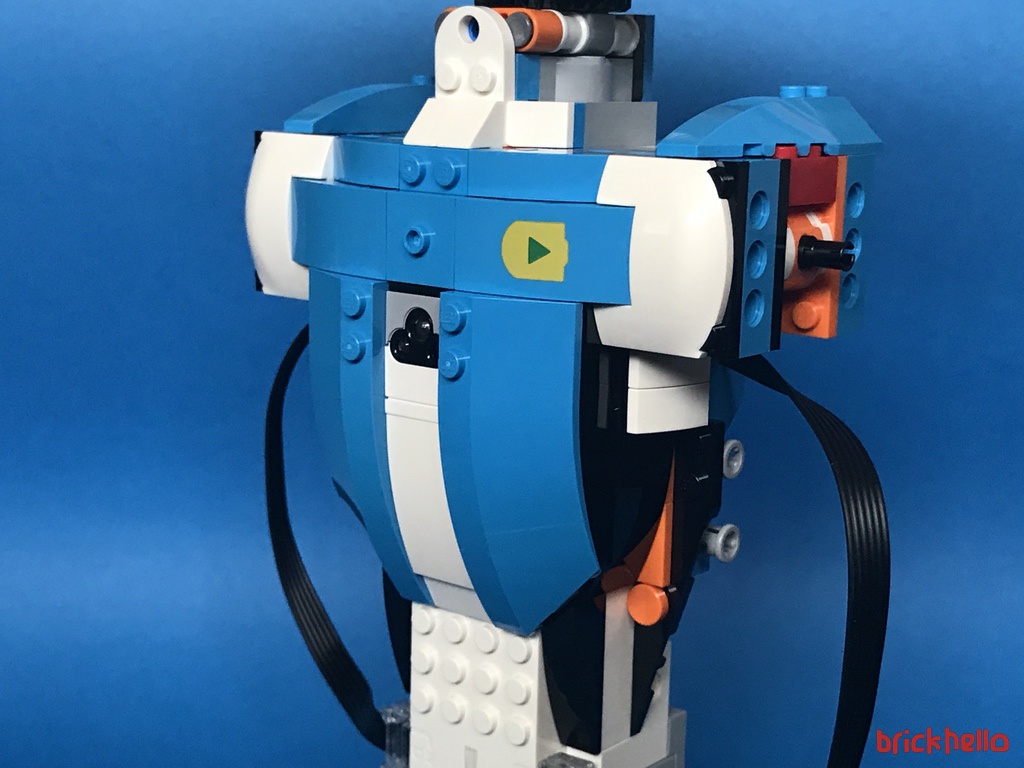
Bag two is the construct of Vernie’s upper chest with the embedded motor. Its neatly tucked in and hidden to ensure connectivity to the headpiece to be built later.
Bag 3 – Spine and Neck
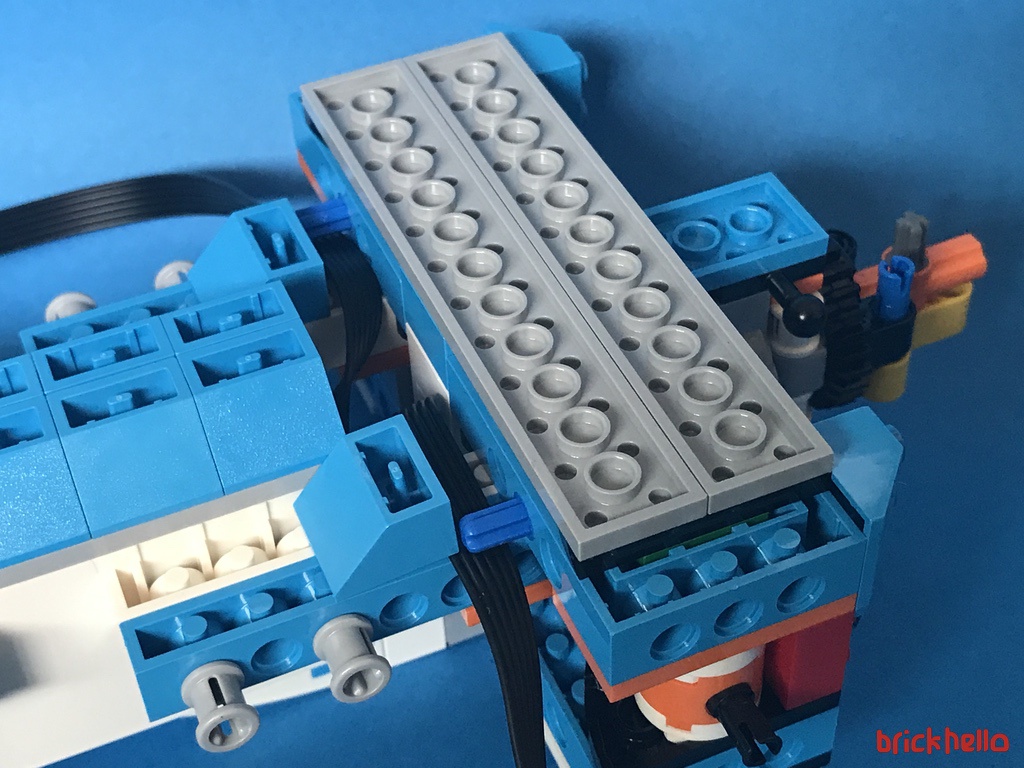
Bag three completes the overall spine and connected to the sensors with the neck gears. I must say I’m impressed with the ‘cable management’ where the two flat cables are held down and neatly connected to flow around symmetrically.
At this point it’s able to somewhat able to stand upright with a good sturdy balance. You can almost see how it all is going to come together.
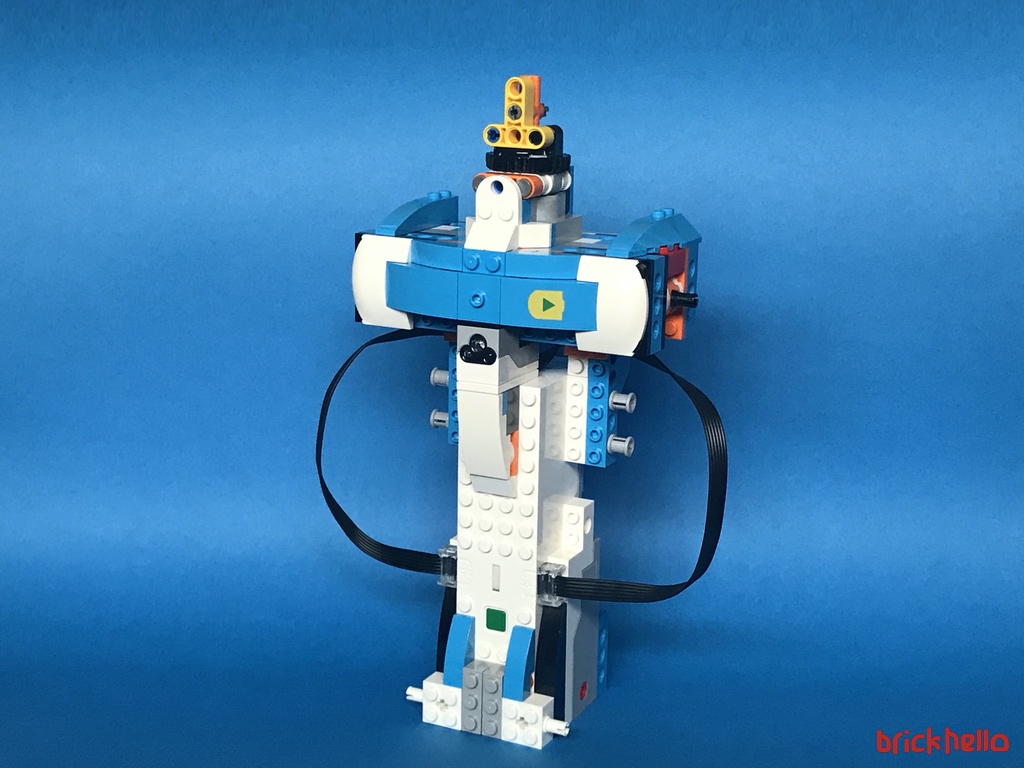
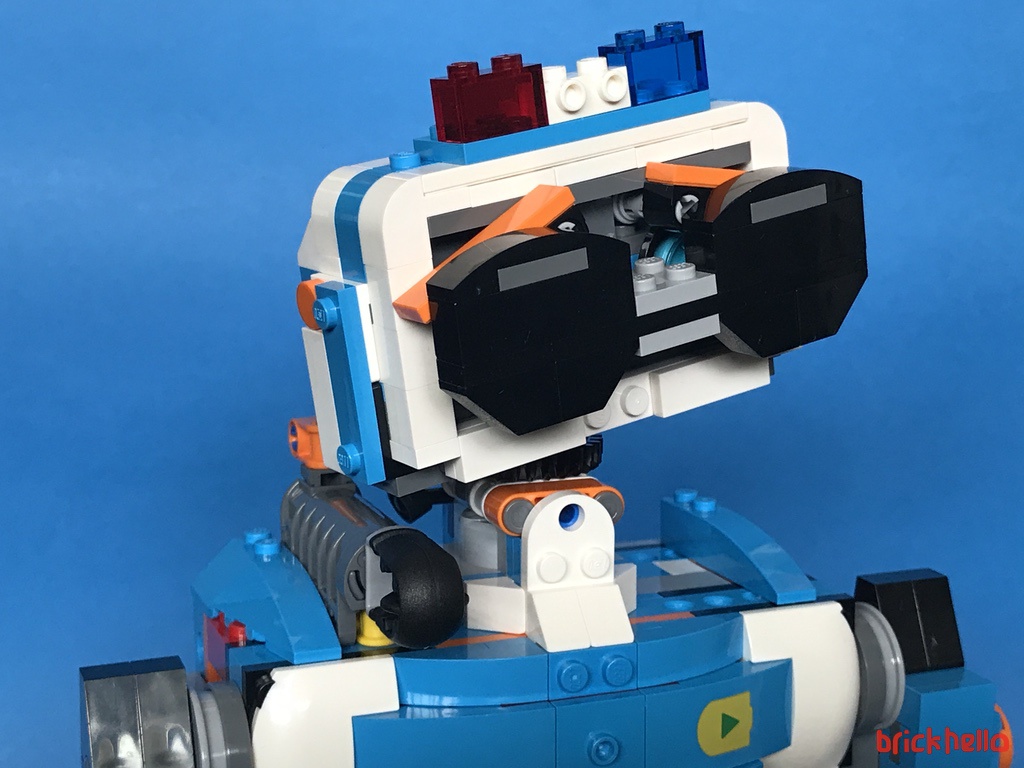
Bag 4 – Head
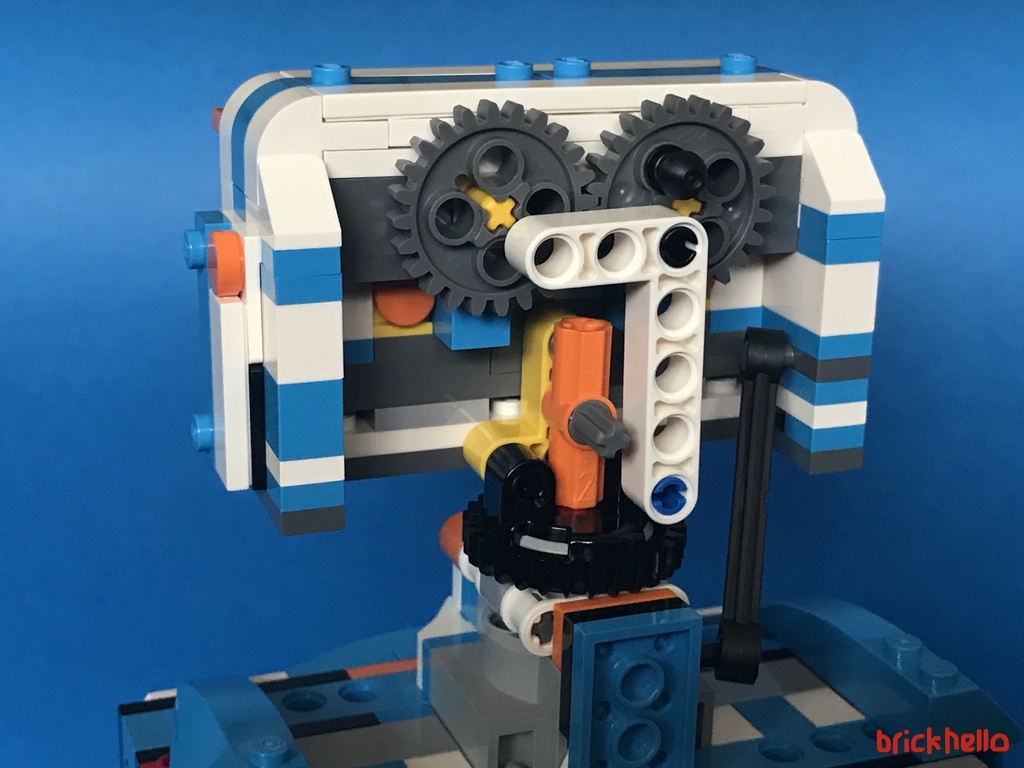
With bag 4 in place, this is where Vernie starts to get more of a character with the placement of the eyes and head. I could already see how the gear system would work. This is the part that really appeals to me – the intricate detailing and mechanism that the design team had put effort into.

Play the video below to have a look at the movement and mechanism for the head – manually moved
The eyebrows does the trick, again, all fine tuned together with the gears in place (See video below)
Bag 5 – Chest Shaping (and Surprise!)
The fifth bag is basically getting Vernie’s shape in place covering the innards. Balancing the overal function and look of the robot and how its coming together is good as any typical Lego set that you build. Enjoyable to the max.
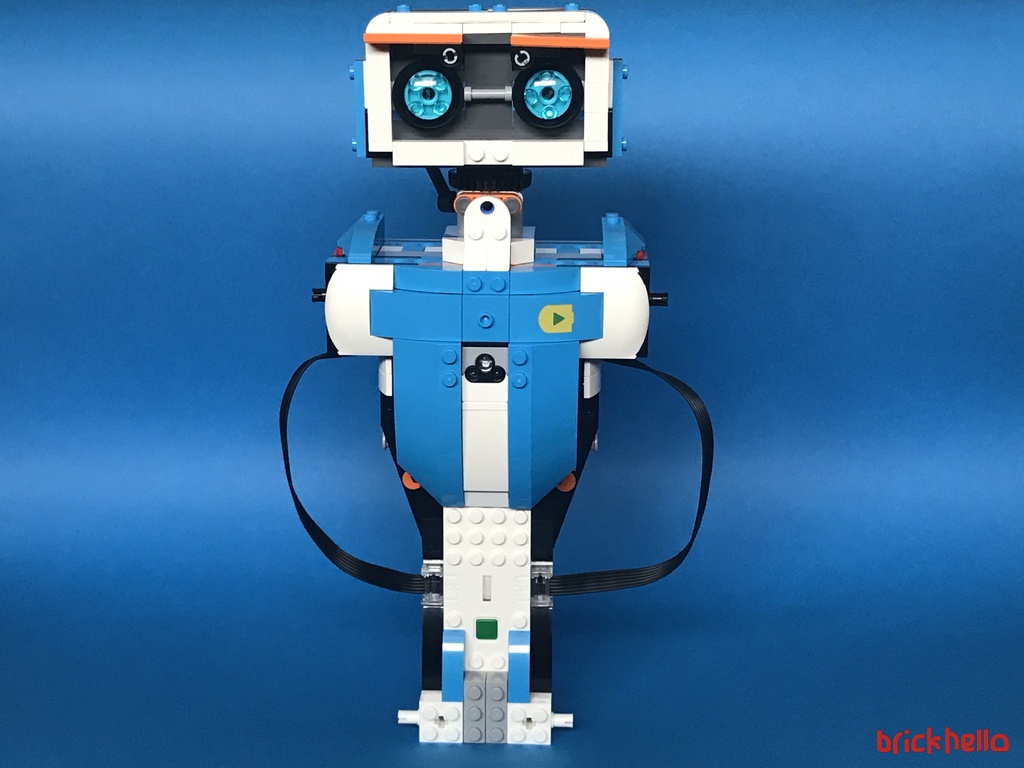
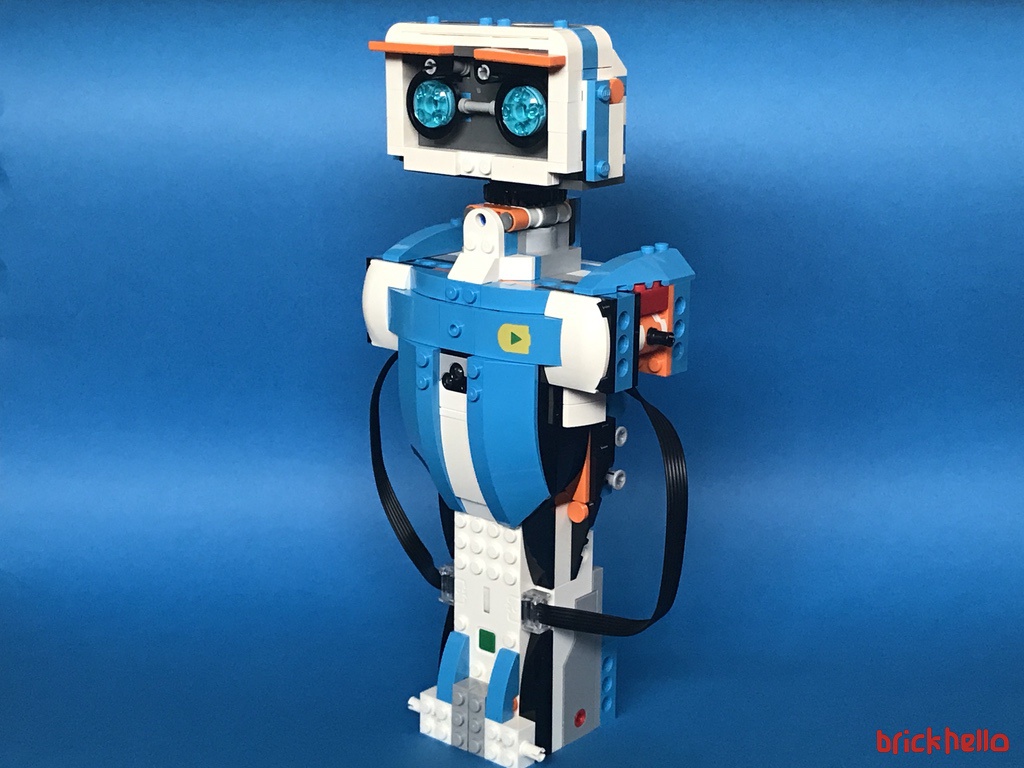
The once bare chested Vernie is now bulked up, giving it a sleek curve and a nice touch of a printed tile with the "play" icon of the Boost App.
At this point, we have a semi completed robot with all the sensors plugged in and a head. The instructions here naturally point to ‘activate’ Vernie, the basic build instruction codes built and I must say that it’s basically a very pleasant surprise to hear Vernie speak for the first time. If anything, at this point, I suddenly was transported to a new world of this not being LEGO anymore, or rather, it’s so delightful to see something you create come alive and speak!I I almost feel like doc rejoicing when Frankenstein first came alive!! Indeed it’s ALIVE!!!
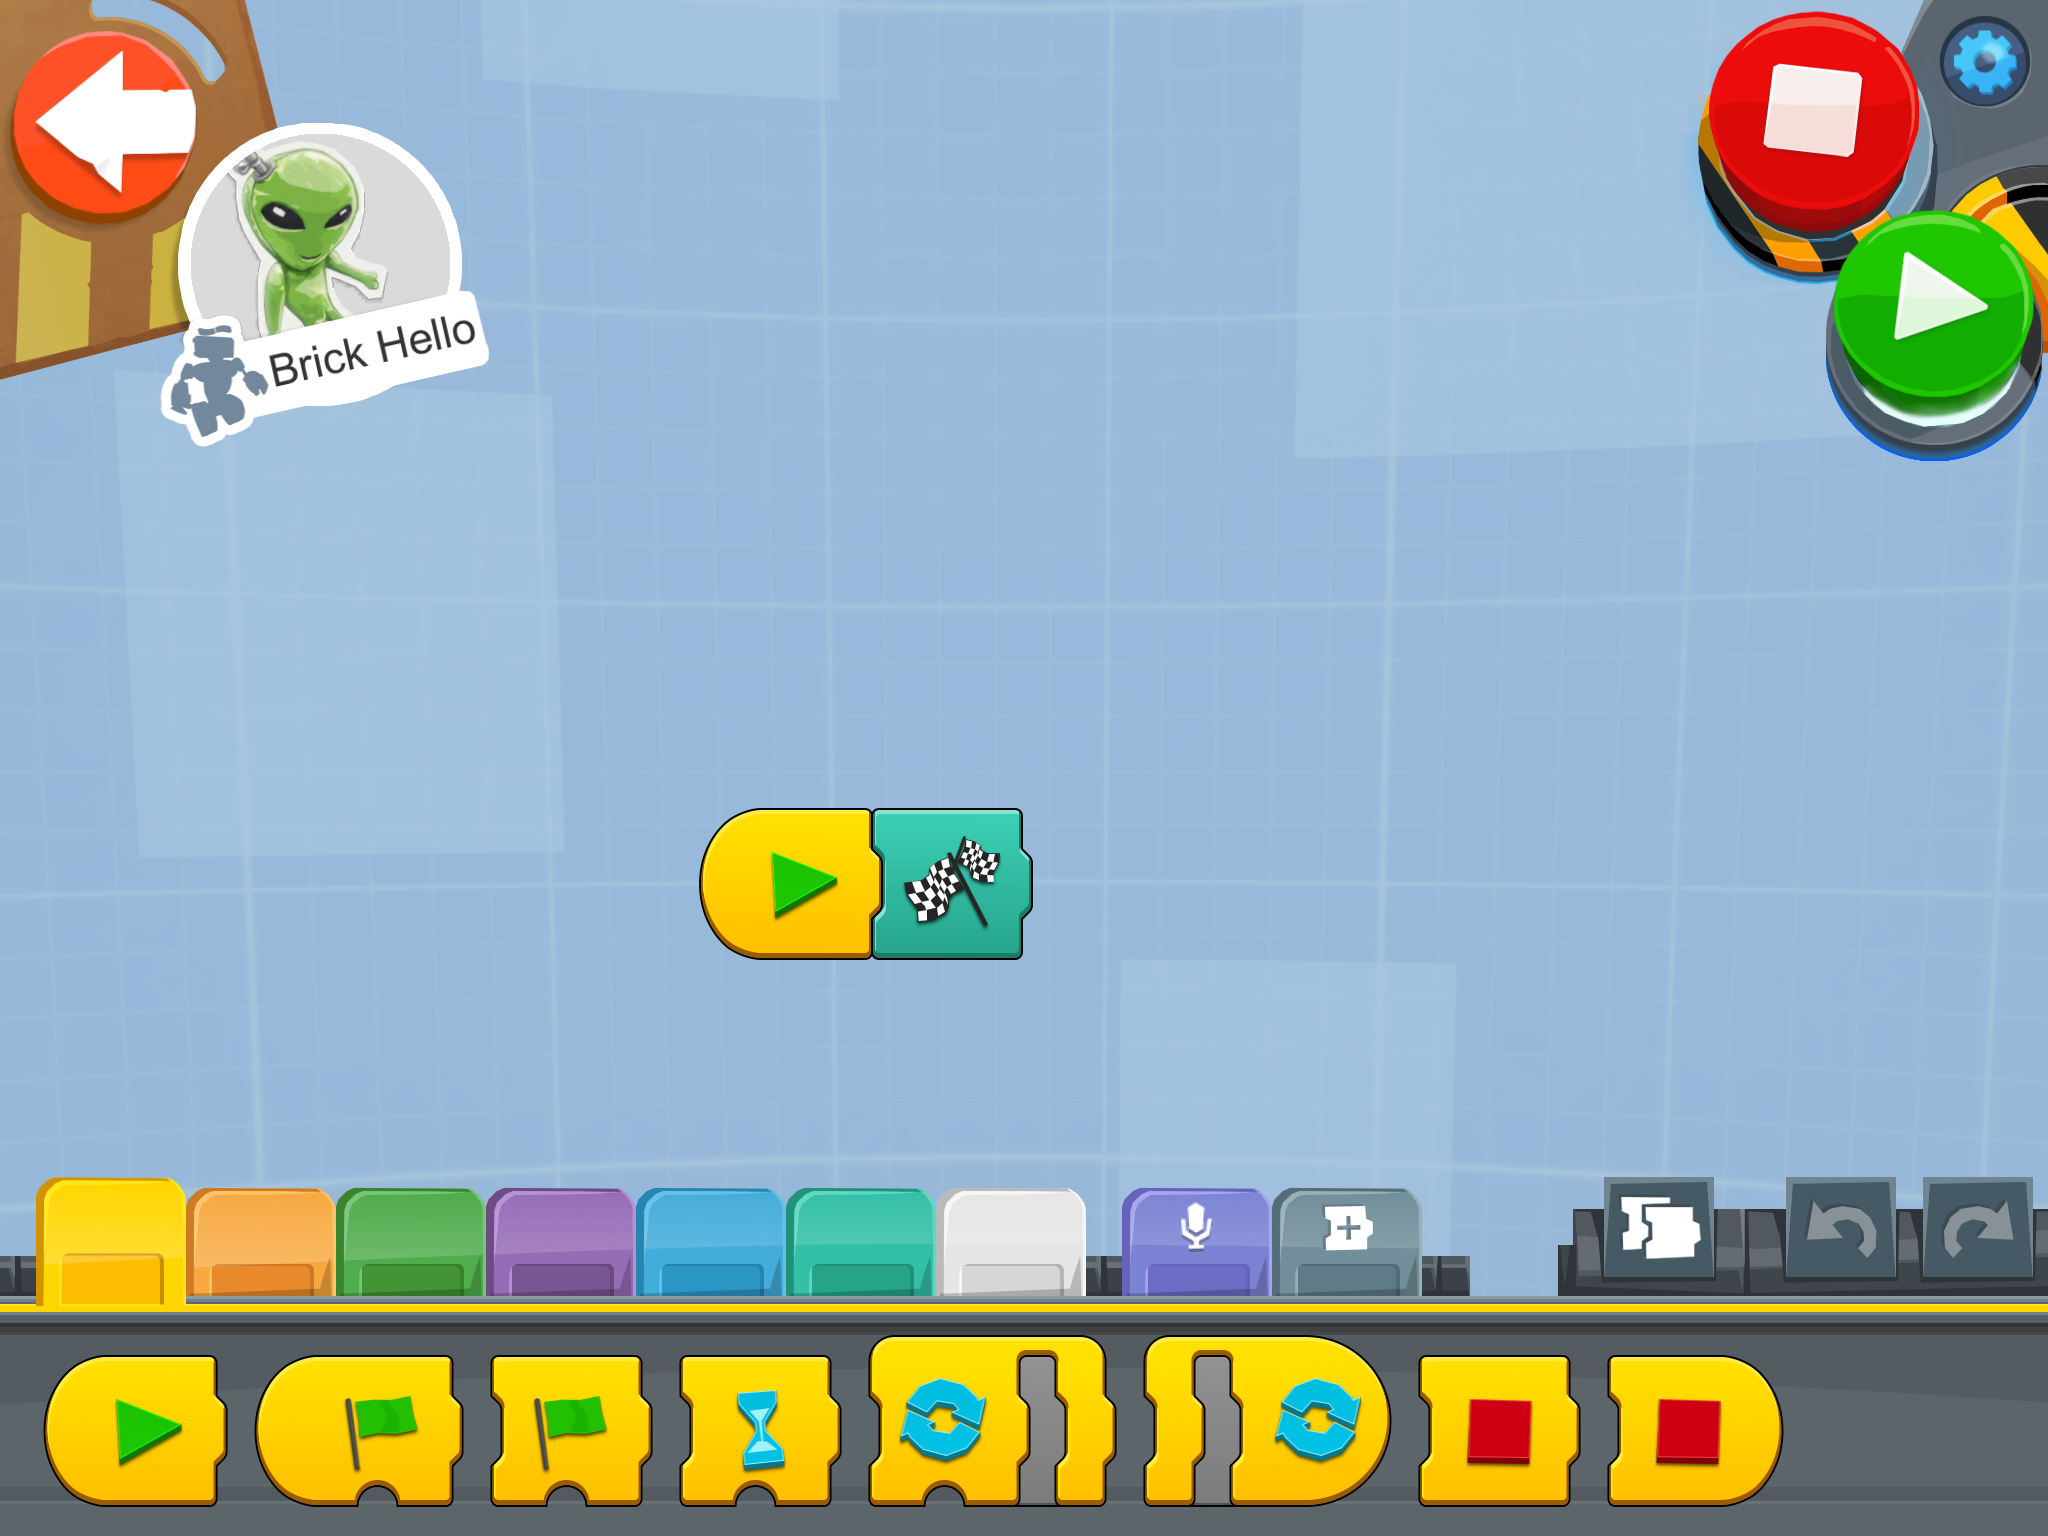
In the video below you hear Vernie greeting me for the first time after all the building process. You can see how I literally drag and drop the Play and Speak commands. That’s how simple the programming goes throughout – with a little practice, you can expand to more complex commands.
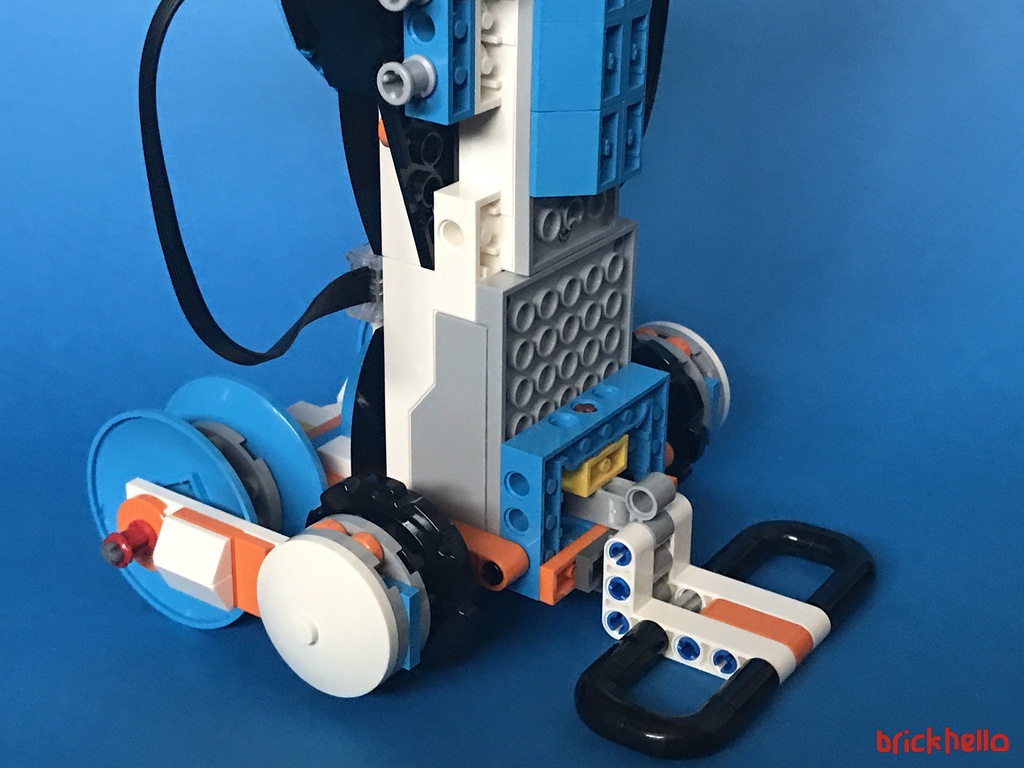
Bag 6 and 7 – Vernie’s shoulders and leg tracks
A small shoulder add-on attached to the torso built earlier. These are fixed sturdily and does not have any movement involved.
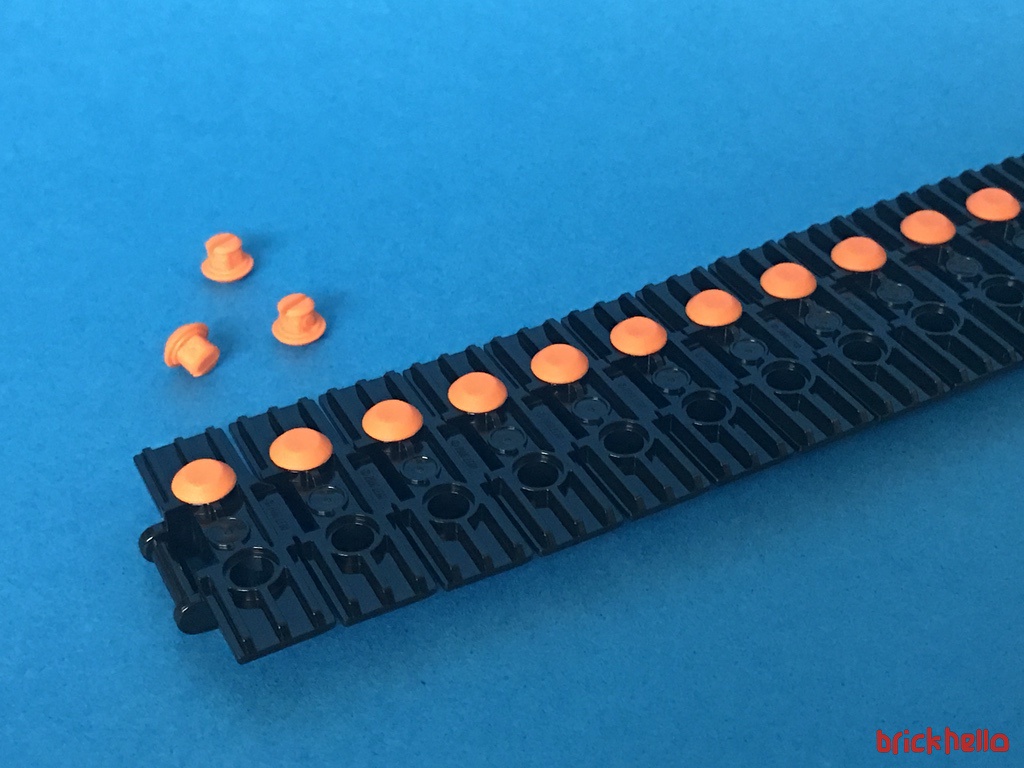
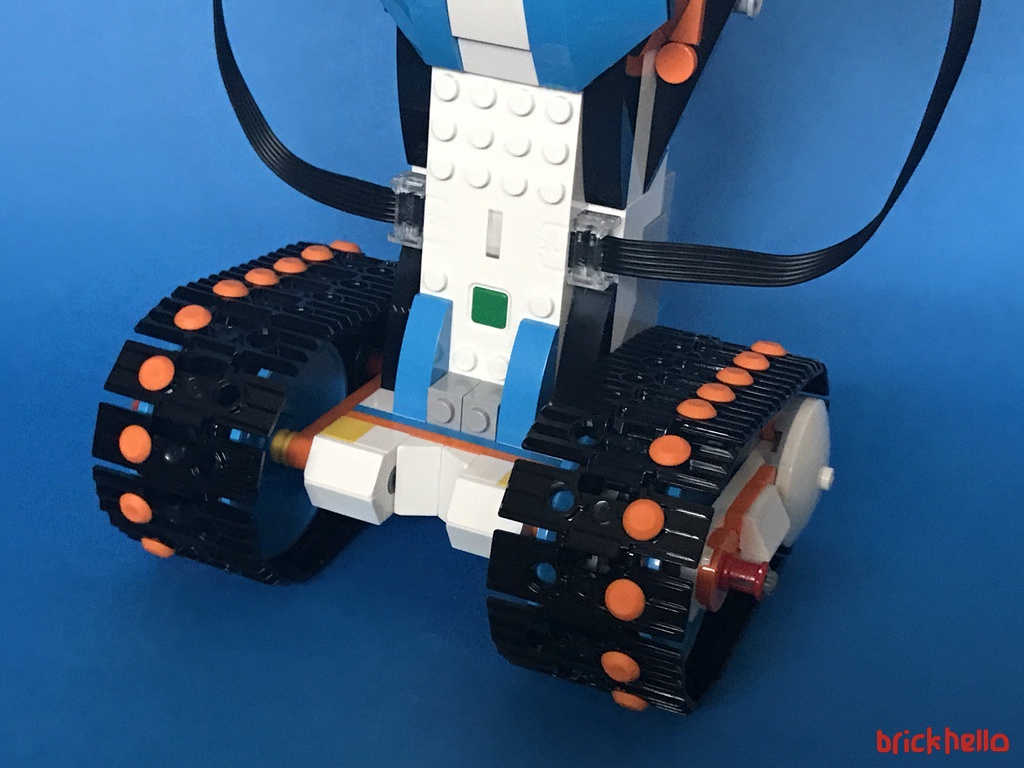
For the leg tracks, during the build, I was having my doubts on how the weight would be supported by a set of tracks. But the back of the track system has a construct to ensure that Vernie does not topple. I’m not sure if this was an after thought as it looks a little out of place, but one thing for sure, it definitely gives Vernie the stability and assurance that it would not fall backward easily. I can’t tell for sure what the implication would be in the long run leaning and dragging directly on the floor for support, but it does serve its purpose.
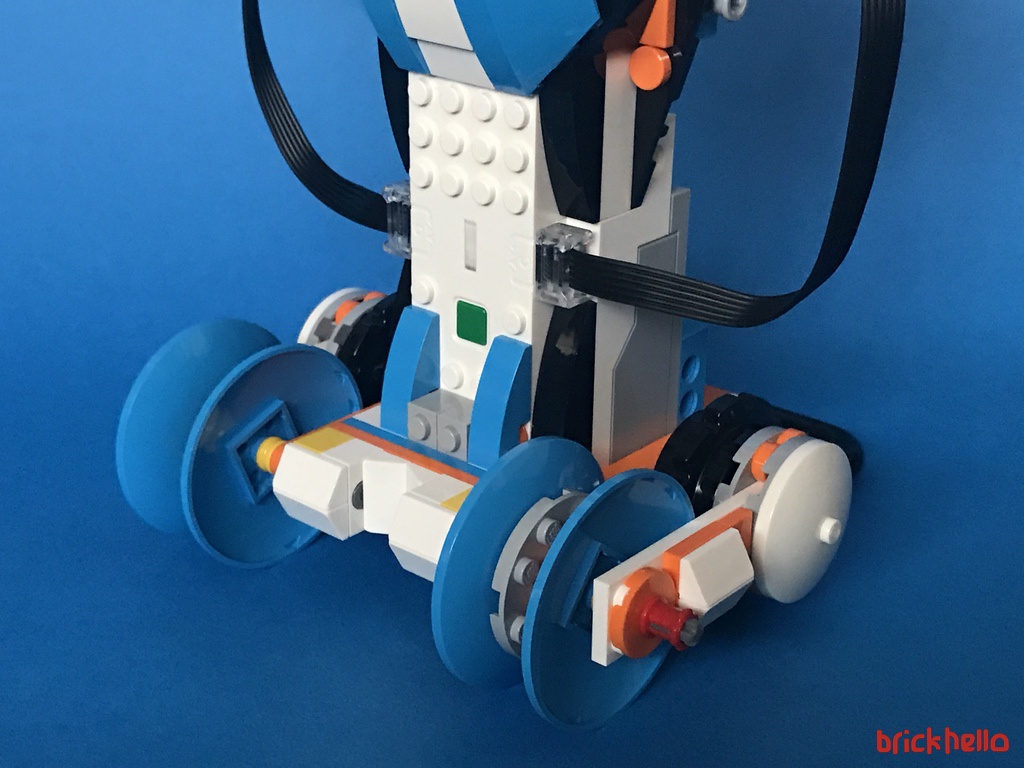
The rubber studs is something I wished had for the Wall-E build. It provides much needed friction and grip for any floor surface.
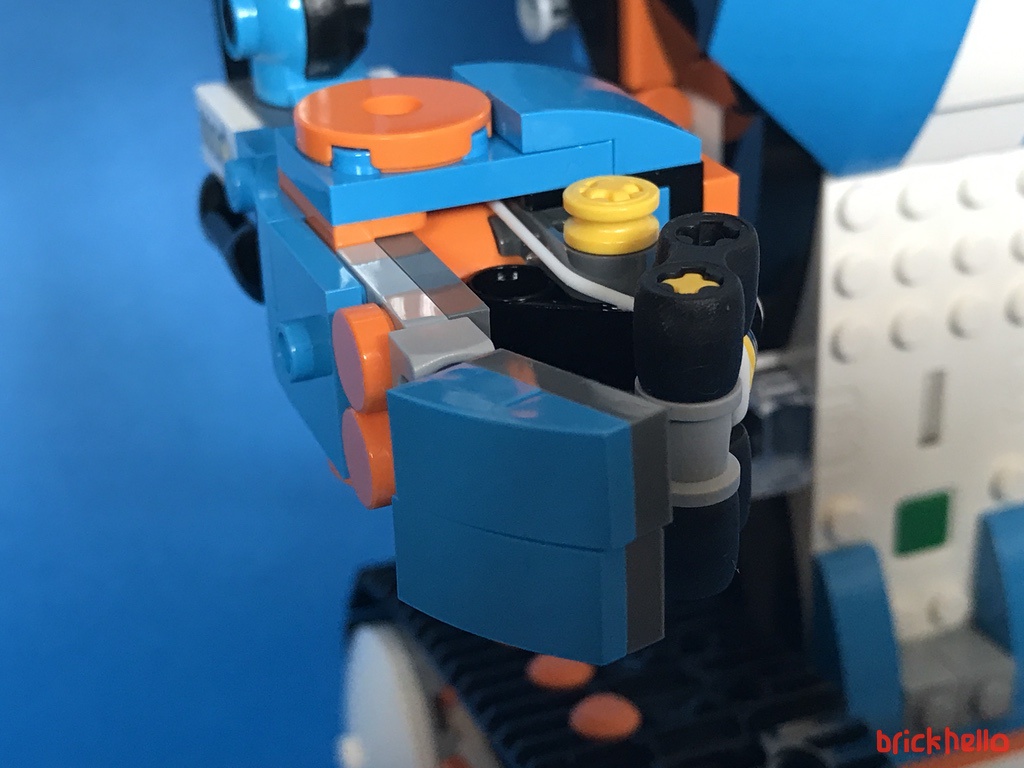
Bag 8 – Arms
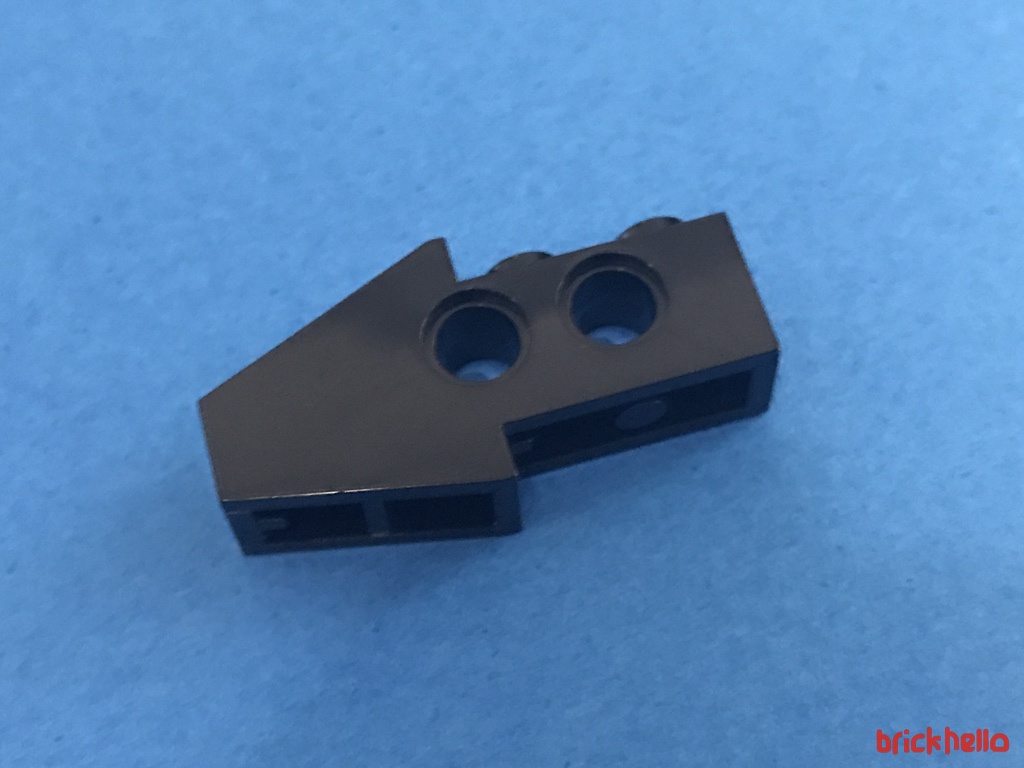
Part lovers or Moccers out there – for the arms, I did spot a newly introduce element that hasn’t seen the light of day since the 2000s and recently only used in the 42053 Volvo Technic Excavator released in 2016.
The final build to give Vernie his finished look, are his arms. It does contain a grip like feature using a rubber band piece. Something that I could not understand during the build, but later on during play, it serves its purpose for holding onto items.
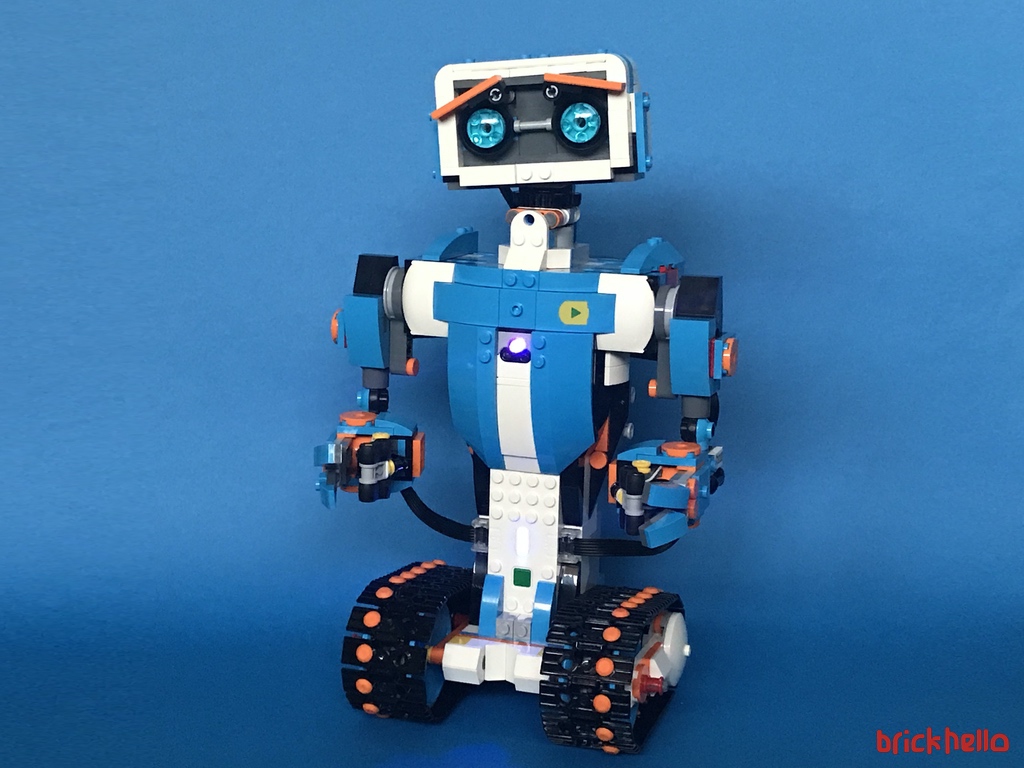
Vernie Build Complete
With the construct of Vernie now complete, a treasure chest of sorts is unlocked from the Menu system. This basically gives you a section where you’re able to free-play and program out of the instruction based guides.
The Play
With the build complete, I must caution fellow AFOLs that this is where the typical LEGO part we know and love stops, and the playability fun starts. You basically own a fully remote control programmable robot!
Bag 9 and 10 – Accessories for Play
The following bags contact a few additional accessories for Vernie to being the play process. The first and most interesting of the lot is Vernie’s shoulder cannon. Once again, I do have to credit the ingenuity of designer to get Vernie to make a twist to his neck to trigger the shoot! Click the video below to see Vernie in action.
A closer view from the back to see the neck snap-back in action!
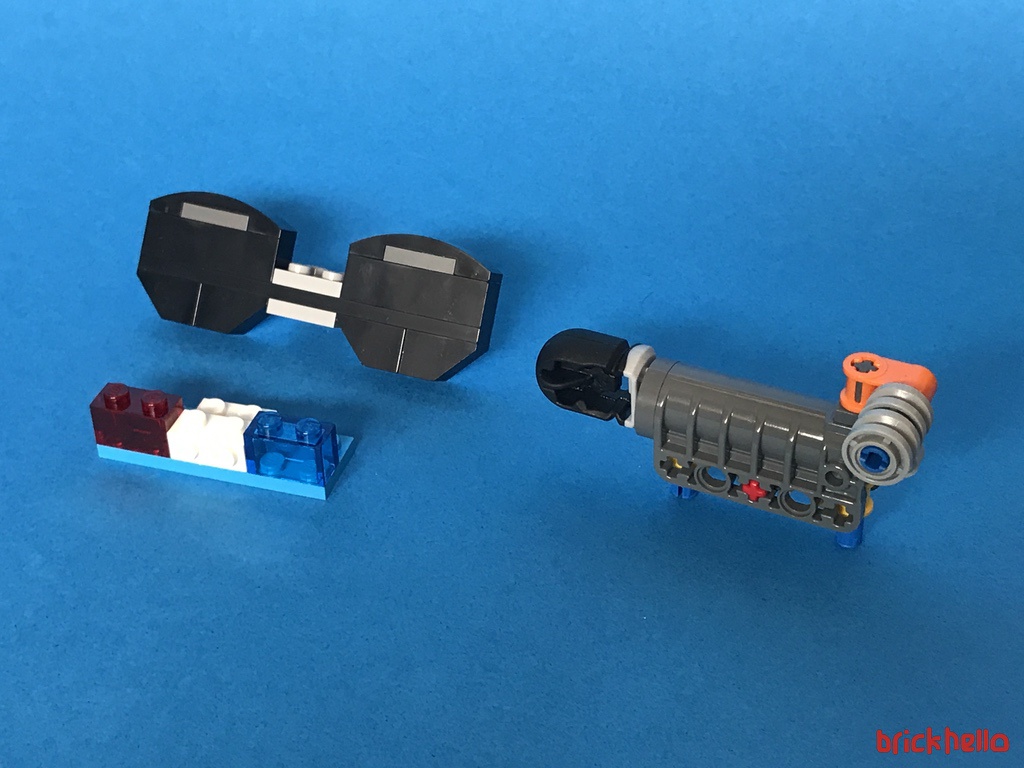
A quick look at bag 9 and 10, these are basically visual accessories – A target board, some road cones, a hockey stick, and bow tie, a moustache, and police siren, a set of shades, a mariachi shaker and my favourite and only functional piece, the shooter.
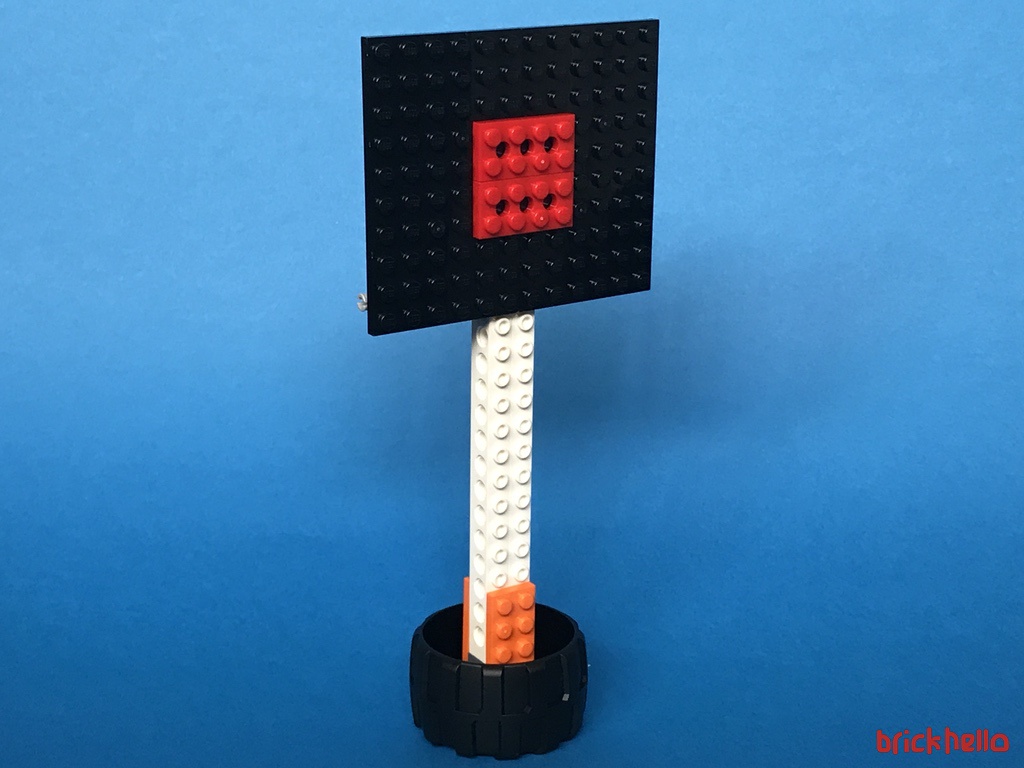

The provide very little play value but more of visual treats that will appeal to the kids out there during their tutorial run throughs.
From here on, each step is a guided process to give you experience to different functions. Movement, detection, combination of steps, and such. Each of the menu interface is clearly design for simplicity and well-thought out.
Here are a few videos of the result of the programming (via the standard guided tutorials) each one expanding on a new feature and teaching you new commands as you go along.
This is a simple action and talk sequence
This is Vernie feeling dizzy
This is Vernie feeling great!
This is Vernie programmed to play a joke. Touching his arm will cause the tilt trigger to go off, and Vernie reacts but releasing a…. fart. Indeed, everyone loves a fart joke.
Routines can be programmed into a loop. This is one such example. My fingers are only used to provide the scratching sound effect. Every other action is pre-planned and played back into action via a looping function.
Although the motor function has very little movement choices, but with the combination and sequences, fun things can be executed. This too is part of an early tutorial.
The closest thing you can get Vernie to act like a RC controlled robot is this mode. You basically use the controls to power and then swing both right and left. It’s not as easy at it may seem, some practice required.
This is the programming sequence for the most ‘free’ form and the closest to making Vernie operate like a RC Robot. The menu system is color coded
Below is a snapshot of the extensive list of commands that can be executed. Color coded. You could almost tell what each one does, it would be a lot more clearer while the tutorials run and you experiment live. However, my only grip is that if they had a master chart to explain things quickly it would help an adult read and remember if needed for reference, especially after going away and coming back a month later to re-learn would be a hassle.
There you have it – given the time, you can spend and program infinite activities to customise your application to get Vernie to do most anything. That’s not all, as promised, we wanted to give you some amount guidance and recommendation based on your role and needs.

The Verdict
Here are my final thoughts on the Boost System by LEGO
It’s Lego building… AND BEYOND. Bringing it ‘alive’ as opposed to just a display with extended "play-abilities". The first half the playability is the traditional LEGO System build – the next half is enjoying abit of remote controlled programming fun!
It’s like having your own customisable robot system that will allow you to do whatever you can imagine only limited by the capabilities of the 3 BOOST bricks. At an entry age of 7, that’s going to need a lot of help from Mom and Dad, as the builds itself can get a little complex, such as the the mounting of the track

Issue Encountered
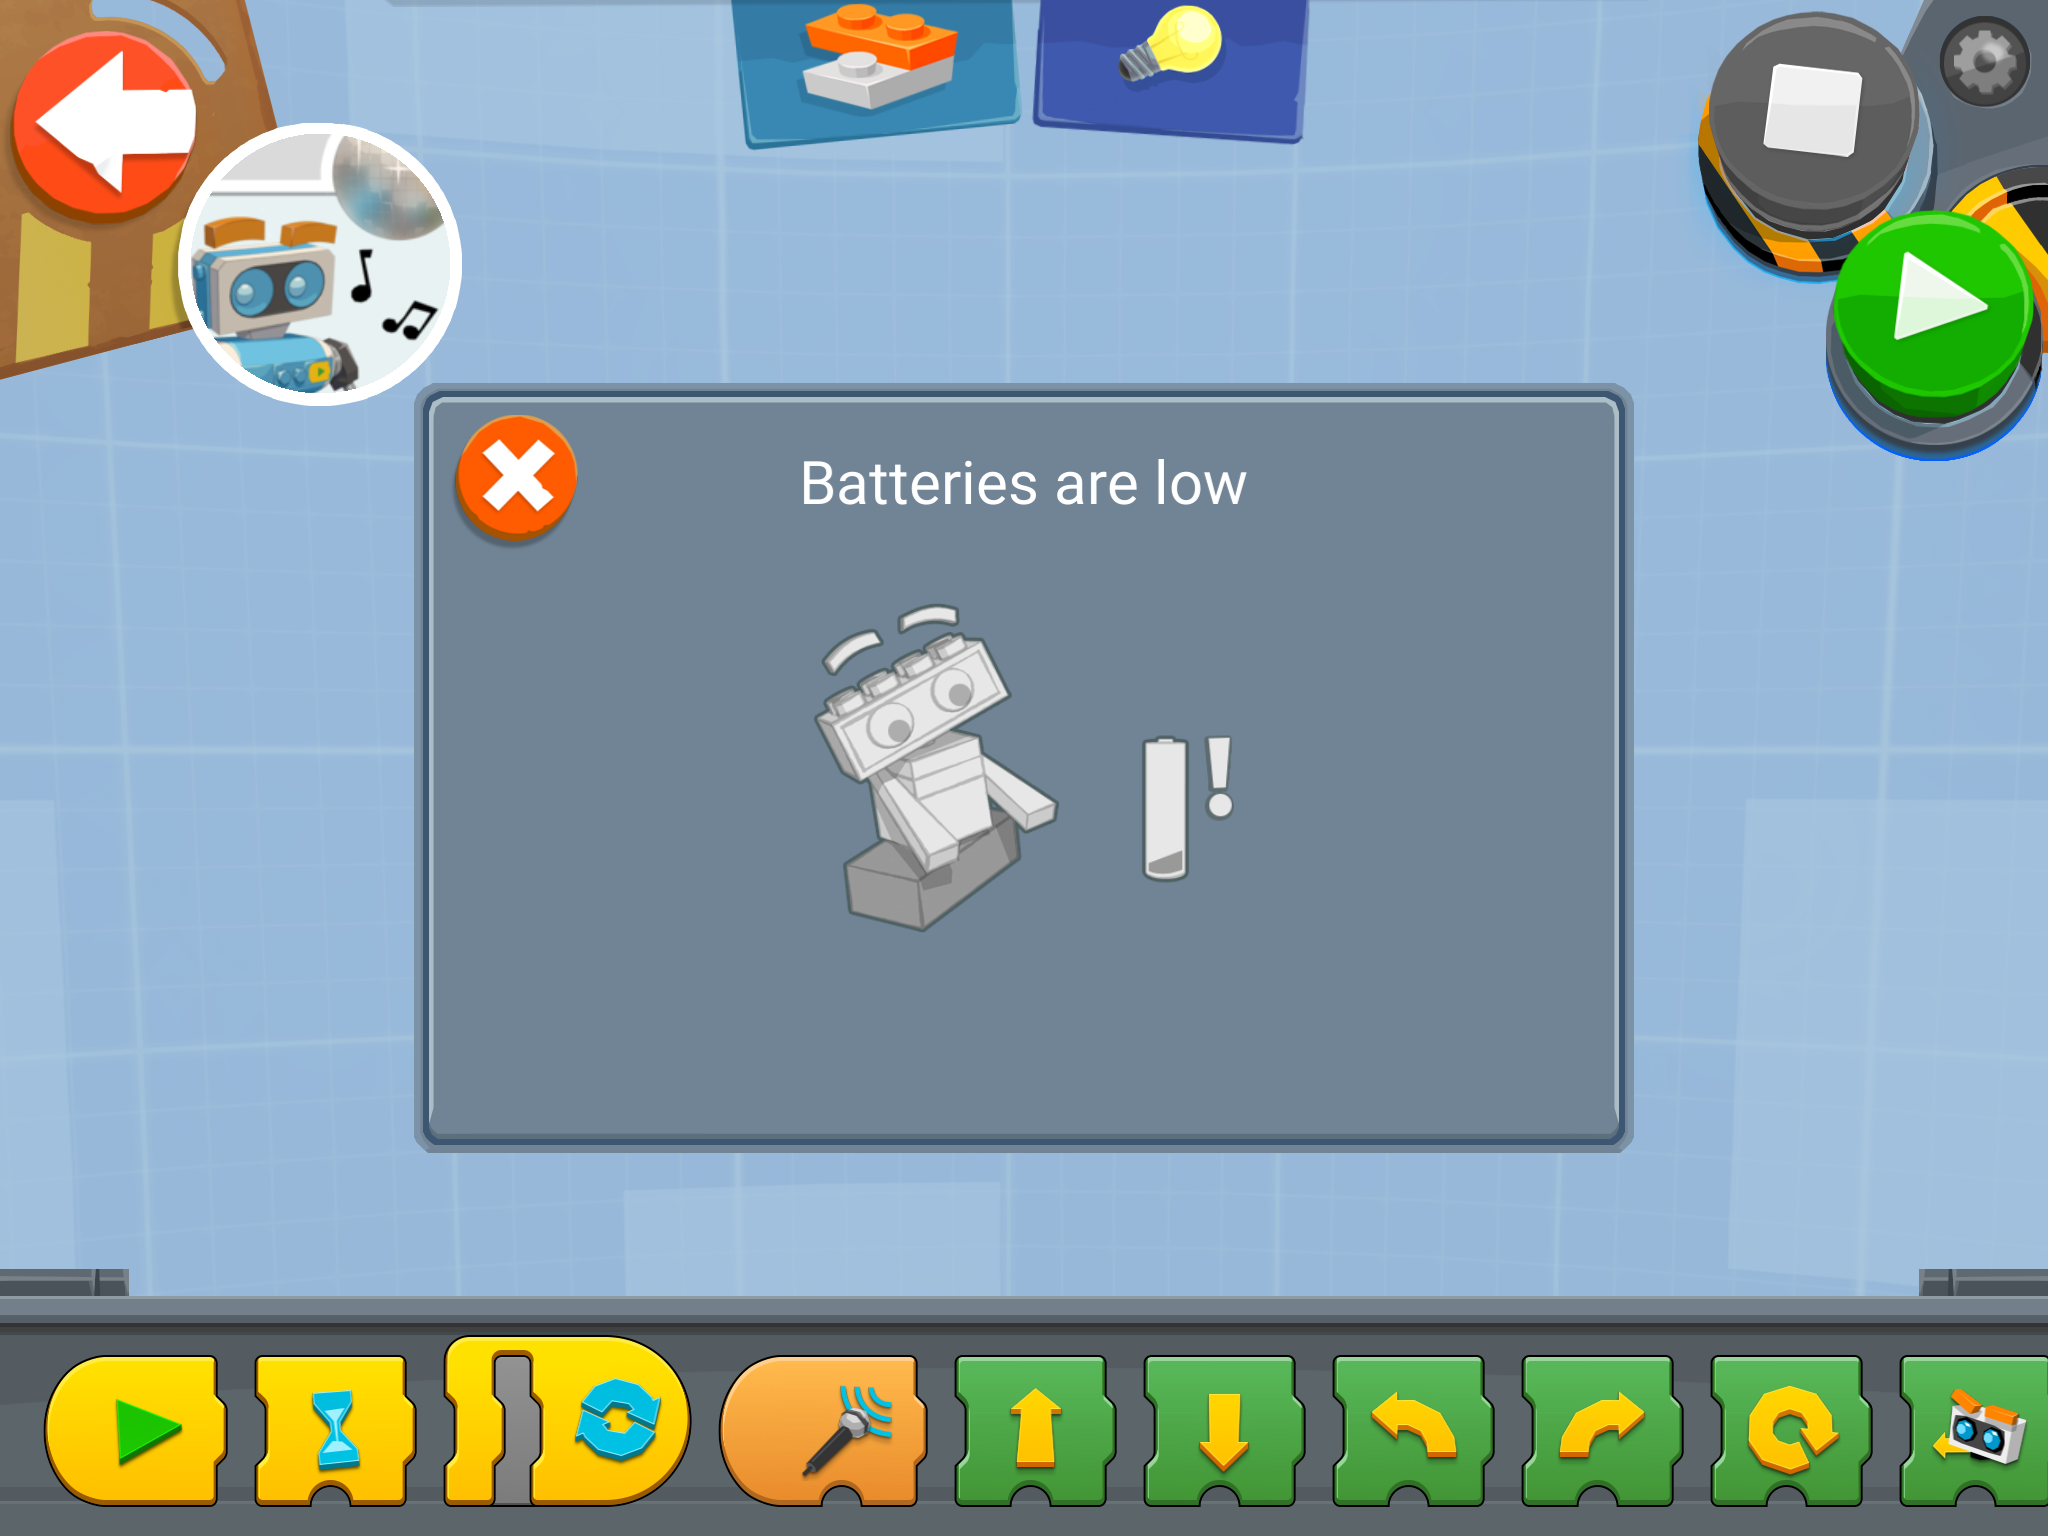
For some reason, I kept getting warnings of Batteries are low during power-up of Vernie. I did put in a fresh set of alkaline batteries. So I could not tell what the problem was.
Room for Improvement
Audio is only played through the Tablet. The video may gives you the impression that your creation is doing the talking, but in reality, if you tablet is set to mute, you’d miss out on all the vocal action and sound effects. The application only works on a tablet, but not a smaller mobile device like cell phone. As an AFOL, I would quite pleased if a lighter version of the App could be created just for the controls. Almost making it a ‘remote control’ feature. Manual or guide – Each icon in the application control represents an action. Although its easy to identify through rote and repeated use, it would be nice to have a list of printed guide to quickly reference since there are not words printed on the e-instruction set.
The Purchase Decision
The cost of the set is $249.99 Singapore Dollars at retail price. It’s not a small sum for some families to spend on an intelligent toy. I can share the value of the system, you’ll have to decide if it’s worth it. So here’s what I think depending on your profile
Parents purchase for a child
This is highly recommended for encouraging activity to build education and at the same time, injecting fun into the process. Time investment – Parents need to be ready to spend time to learn the system together with their kids in order to also be familiarParents will too LEARN about the world of robotics and application ‘coding’. In todays world, everything has moved to a form of software – this is no different. Instead of purchasing a ‘dumb-one-trick-pony’ remote control car or robot, of a decent scale and quality which could cost slightly less, this would be a much, much better investment
Adult Purchase as a Gift to child (i.e Christmas or Birthday)
The BOOST system is invariably just like the LEGO system – the only limitation is your imagination. You may want to gift this to at least a 10-12 year old who is able to appreciate and spend time to explore and learn LEGO toys are know to last long – so gifting one of these is surely going to remain within the household for a long while. It will bring loads of fun for hours if the kid that receives it is does build each any every one of the 5 hero builds
Adult Fan of LEGO
This is where I’m squarely placed in and I’m willing to guess… perhaps(?) not necessarily the mass target market of LEGO. Considering I do not have a like for Technic builds and have no experience with the Mindstorms systems, this is a great exposure of the capability of LEGO beyond the build and stack approach – which is a huge portion of the AFOL market I believe that would want to experience the cross play of the mindstorm-like programmingIt is really about the ability to control and command your bricks, and the only way to measure value (for me at least) is the completion of the 5 different builds which gives an individual the full playability of the set. Yes, it will give you hours of extended fun and play value. It’s worth to not only look at it from any typical LEGO purchase, but expose yourself to understand the logics of command and control of application based systems which is again, where the world has moved on to – software driven systems. Recommendation: If you have the spare budget from your annual LEGO spend, YES, indeed, give it a go and you’ll be pleasantly surprised how simple it is, and and may venture into a different territory of Making your MOCs animated.
Disclosure:
This evaluation set is provided by Iris Worldwide, the PR and Influencer for LEGO in Singapore. Brick Hello would like to sincerely thank LEGO and Iris for the opportunity. Having said that, there are no binding conditions to this evaluation review. Any opinion formed around this review is solely the opinion of Brick Hello. Brick Hello does not guarantee a positive review – just as always, we say things whether one likes it or not, that’s the way we like to keep our page, honest with a clear viewpoint